

Valentine’s Day candy ideas are all about charm, color, and easy fun. People search for these ideas because they want something cute, affordable, and simple to make at home. Whether you’re putting together treat bags for kids, planning a small party, or adding a sweet touch to a table, these candy ideas focus on quick wins. Each option uses everyday supplies, simple assembly, and playful details that make candy feel extra special without spending much.
Heart Sprinkle Candy Cups
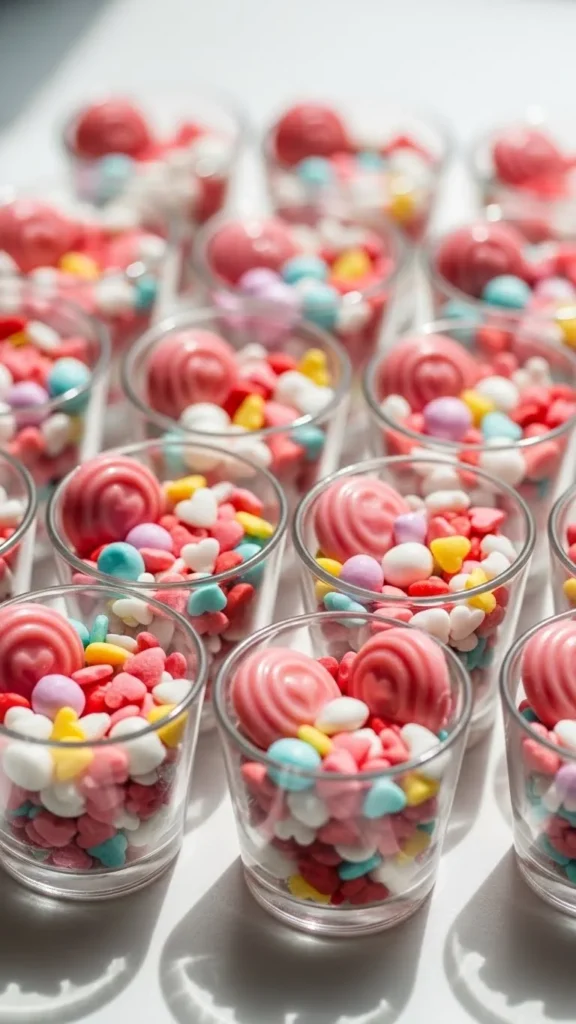
Heart sprinkle candy cups are one of the easiest ways to dress up basic candy. Start with small clear plastic cups or reusable glass jars. Fill the bottom with pink or red chocolates. Add a layer of heart-shaped sprinkles or sugar pearls. Finish with a few wrapped treats on top.
These work well because everything is visible. That visual layering makes even simple candy feel special. You can buy sprinkles in bulk and use them across several cups to keep costs low. Tie the cups with ribbon or twine for a neat finish.
For kids, let them help layer the colors. It turns into a fun activity instead of a chore. For parties, line the cups on a tray so guests can grab one easily. Clear containers and bold colors do most of the work here, so no fancy skills are required.
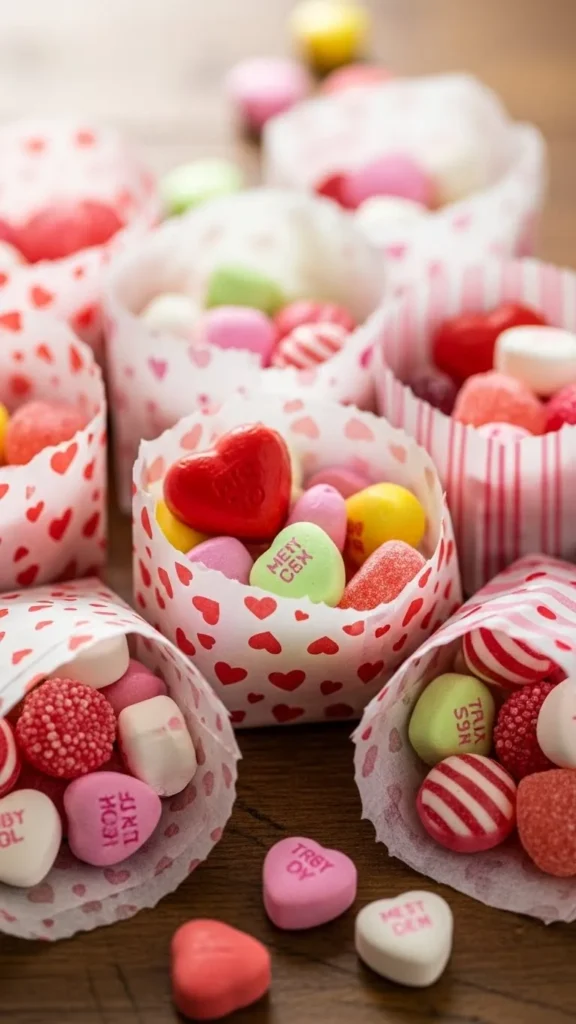
Cupid Candy Cones
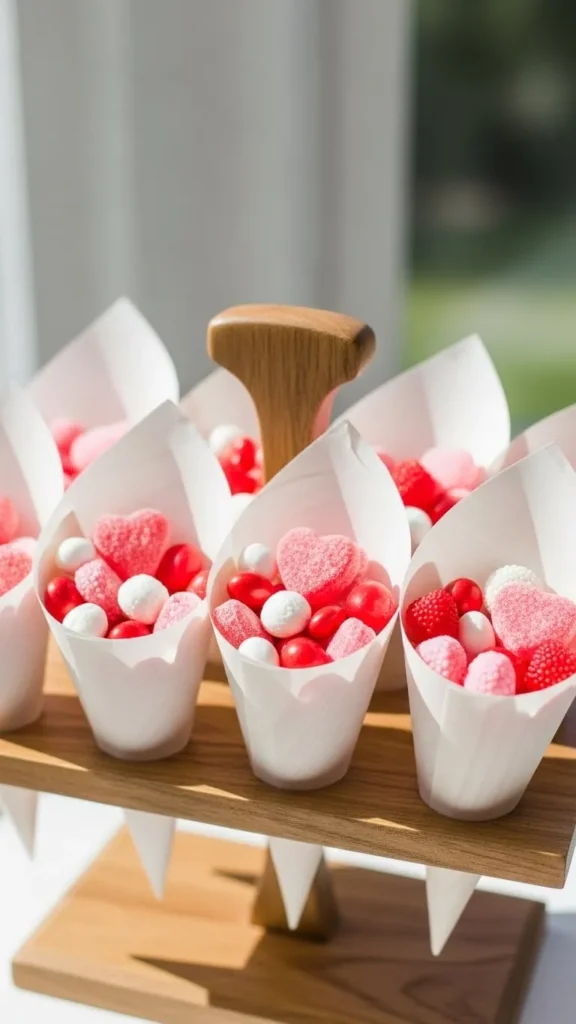
Candy cones are simple, playful, and budget-friendly. Use clear cone bags or roll your own cones from parchment paper. Fill them with small candies like chocolate hearts, gummies, or coated chocolates.
Seal the top with a sticker or ribbon. If you want extra charm, add a small paper heart or charm tied at the top. These cones are easy to stack, store, and hand out.
They work well for classroom treats or party favors because they don’t take much space. You can mix different candy textures to make them more fun. Crunchy, chewy, and smooth candies together feel more exciting.
Using bulk candy saves money, and cones let you control portion sizes. Simple shapes with colorful candy make these cones look cheerful without extra effort.
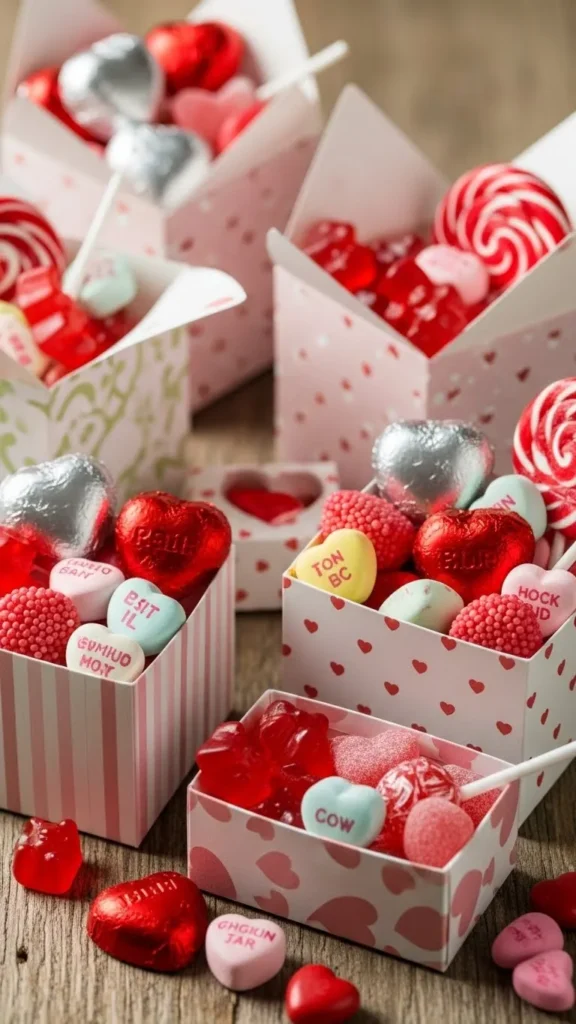
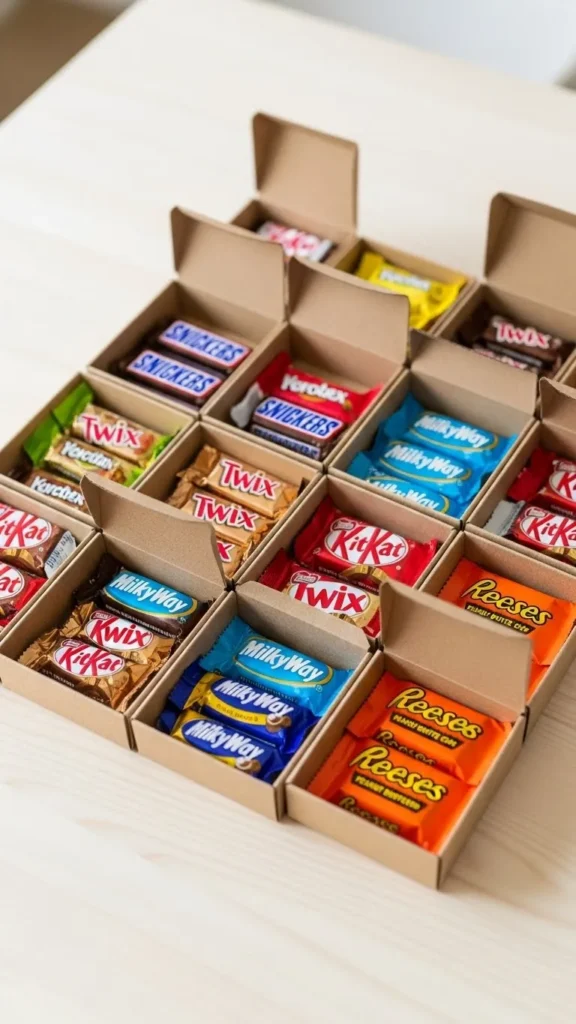
Mini Candy Charcuterie Boxes
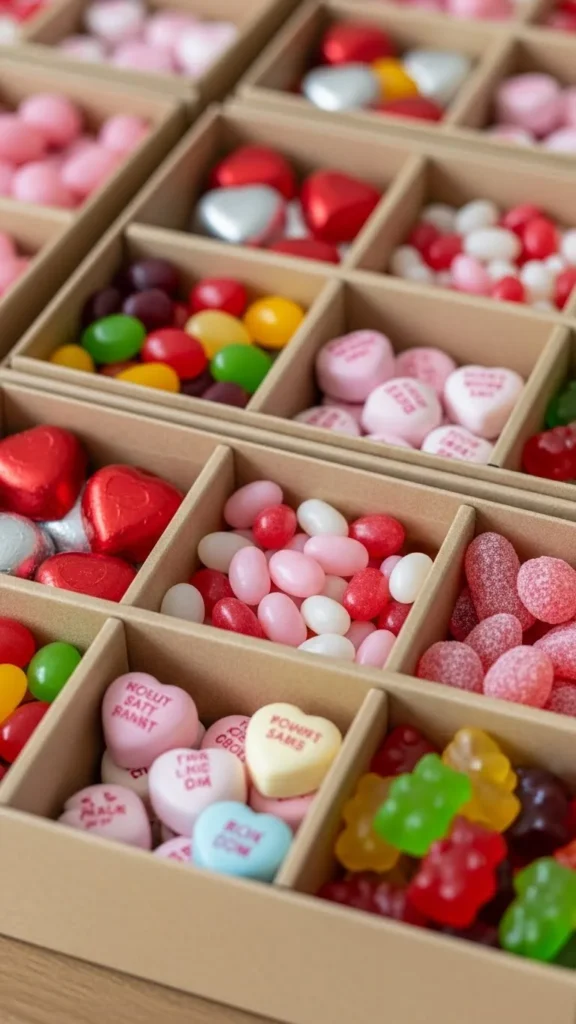
Mini candy boxes feel thoughtful and fun. Start with small takeout-style boxes or bakery boxes. Divide the inside with parchment strips if needed. Fill each section with a different candy type.
Mix chocolates, gummies, and coated treats for balance. Add a heart-shaped candy in the center to tie the theme together. Close the lid and tie with ribbon.
These boxes feel gift-like but stay affordable because you control the portions. They also look neat on a table or shelf. Kids enjoy opening them because each section feels like a surprise.
You can reuse leftover boxes for other holidays. Structured layouts make simple candy look planned and cute, even when using basic store-bought items.
Valentine Candy Skewers
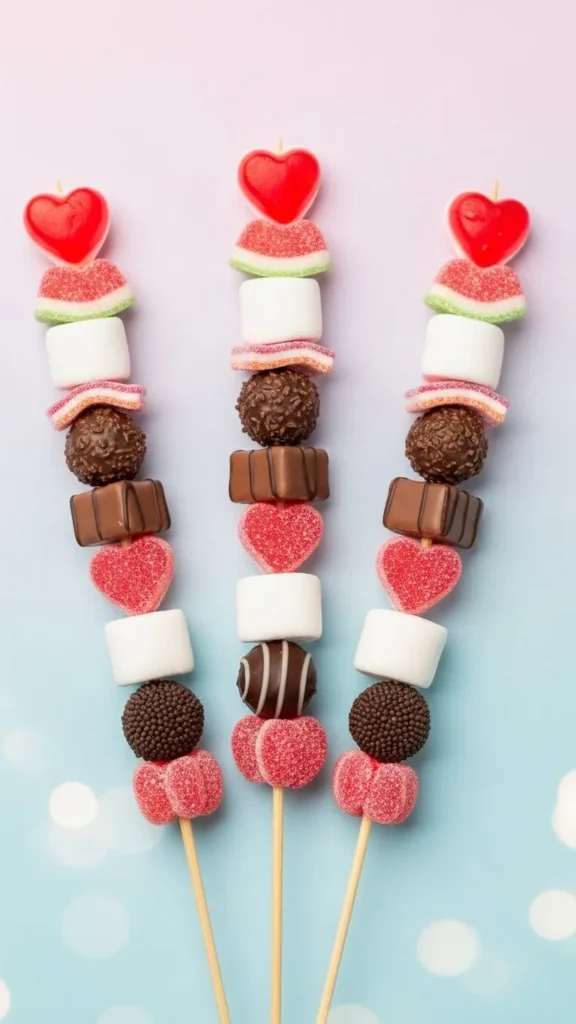
Candy skewers turn loose candy into something playful. Use wooden sticks or reusable skewers. Slide candies on in a pattern using pink, white, and red colors.
Keep the candy light so the skewer stays easy to hold. Wrap the bottom in ribbon or place skewers in a cup for display. These work well for parties because they keep hands clean.
You can prep them ahead of time and store them in airtight containers. Kids love helping assemble them, which saves time. Buying candy with holes or soft centers makes this easier.
Vertical candy displays stand out more than loose treats and cost very little to assemble.
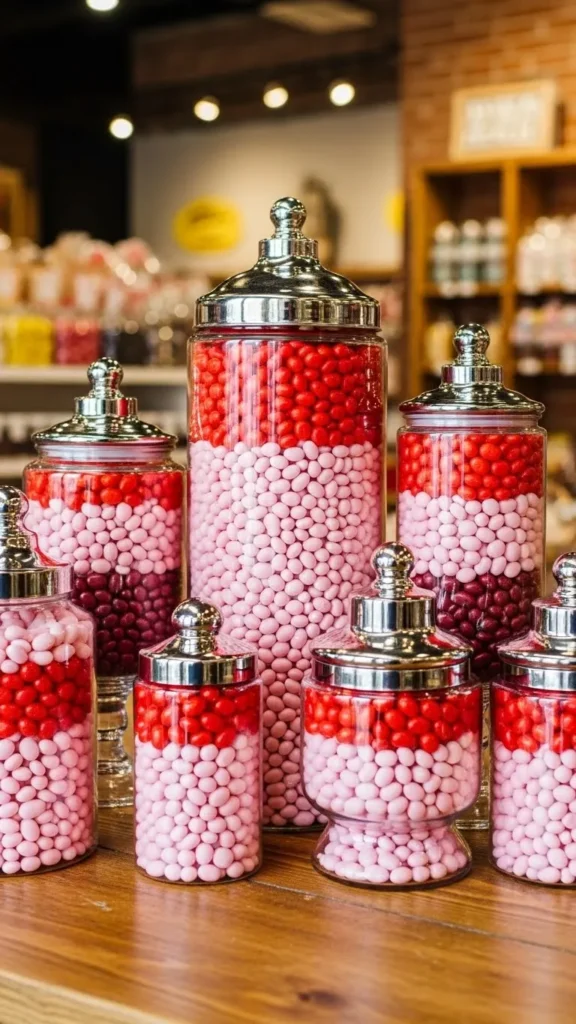
Heart Jar Candy Mix
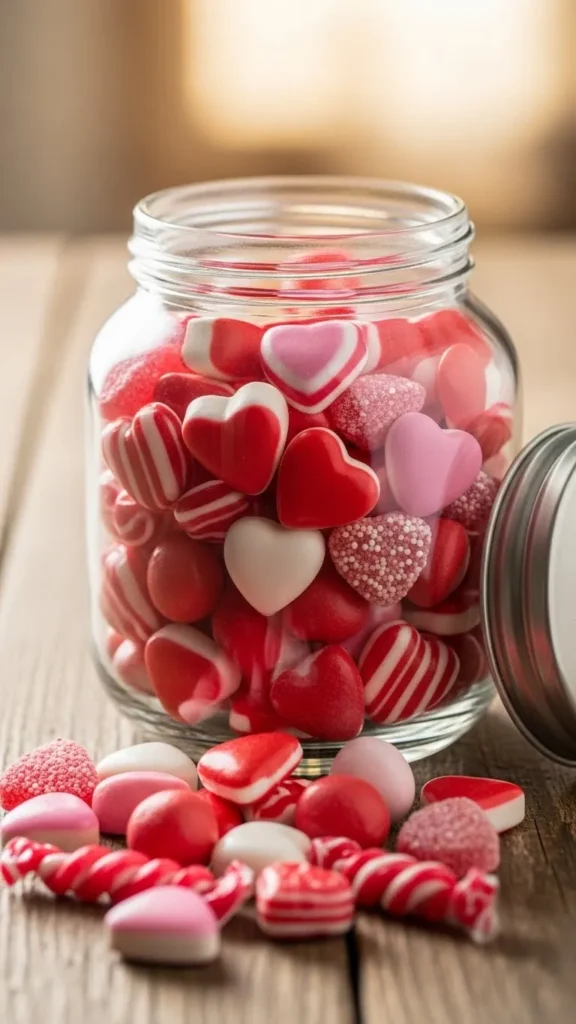
Heart jar mixes are simple and reusable. Use small jars or recycled containers. Fill them with a custom mix of pink, red, and white candy.
Layer colors instead of mixing fully for a cleaner look. Add a fabric lid cover or ribbon if desired. These jars work for gifts, desk treats, or party tables.
They last longer than open candy bowls and look tidy. Buying candy in large bags keeps costs low. You can refill jars later with new treats.
Reusable containers paired with candy make this idea practical and cute at the same time.
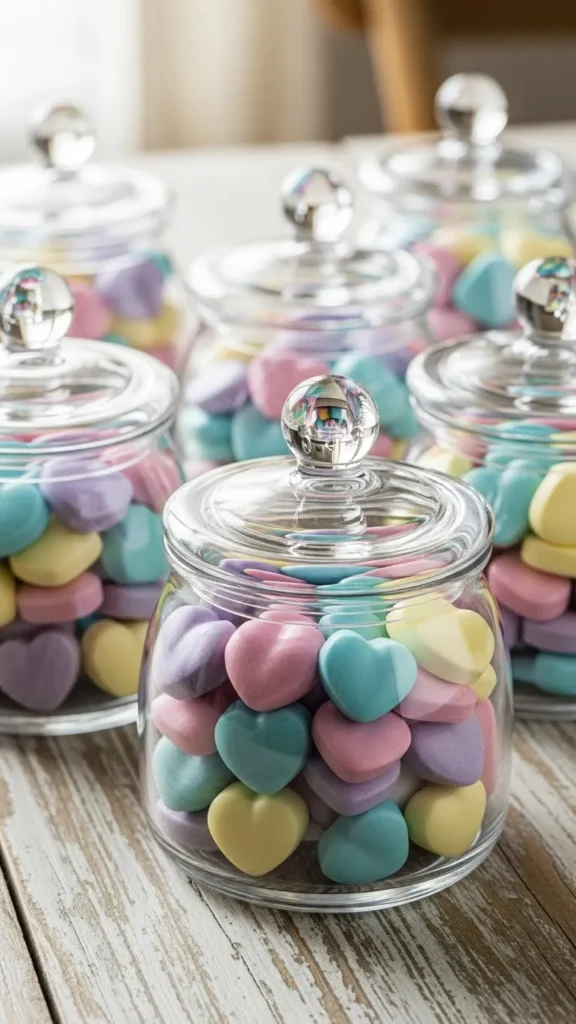
Conversation Candy Cups
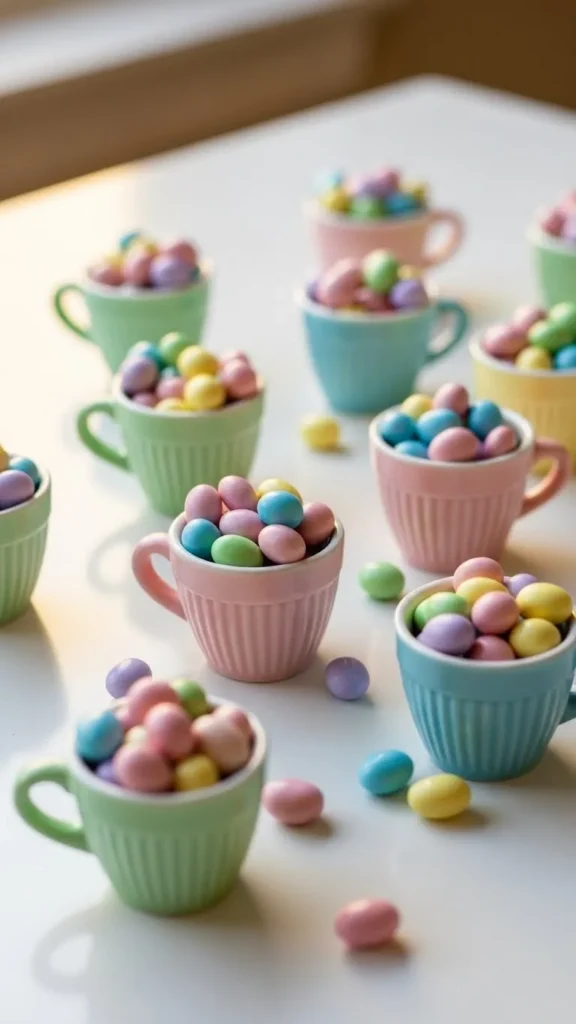
Conversation candy cups bring color without effort. Fill small cups with pastel candies or heart shapes. Keep each cup a single color for a clean look.
Set them in rows or clusters on a table. This works well for events where people serve themselves. It also avoids messy bowls.
You can reuse cups for other holidays later. Stick to simple candy types to stay within budget. Color grouping creates visual impact with very little work.
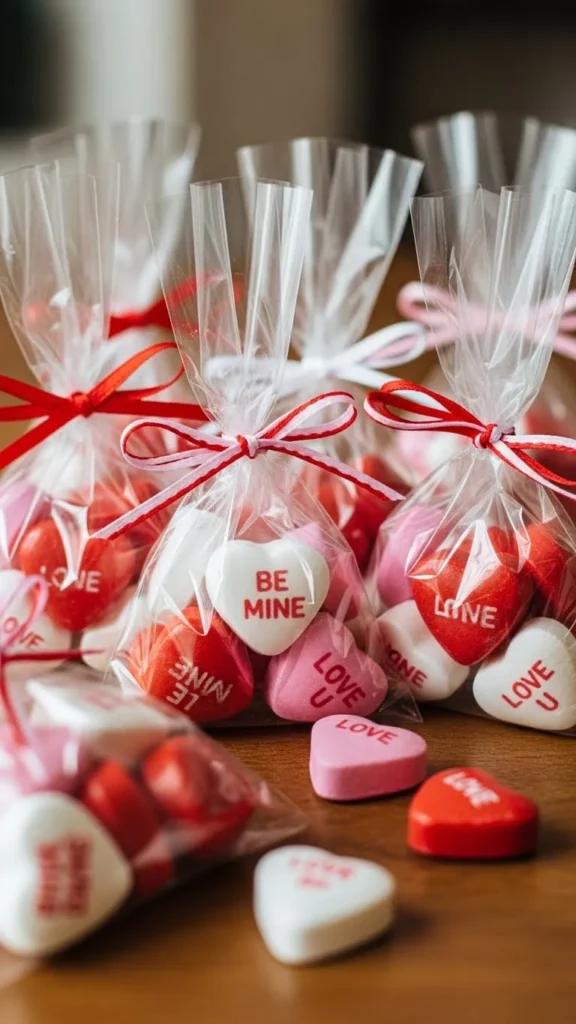
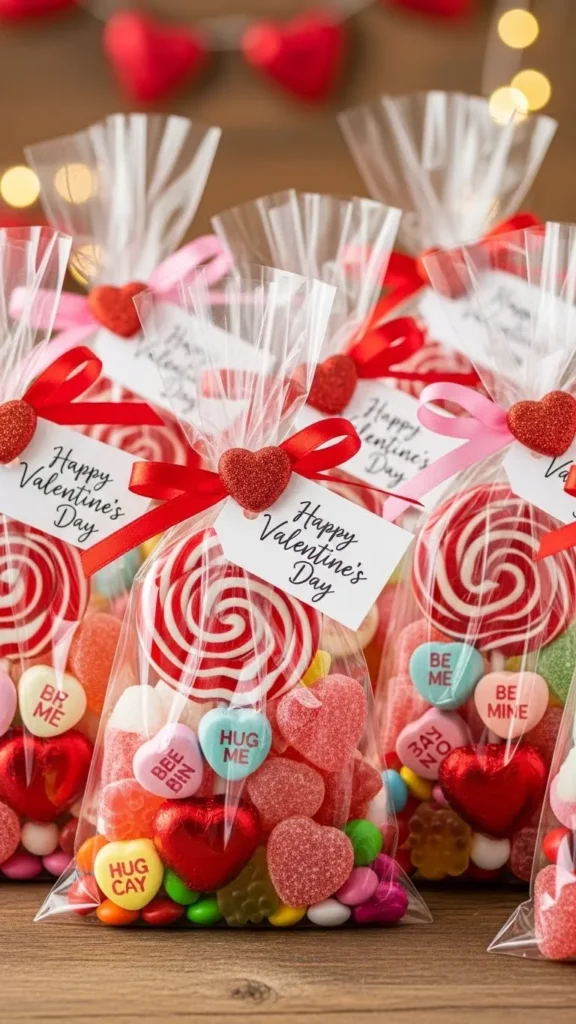
Pink Pop Candy Bags
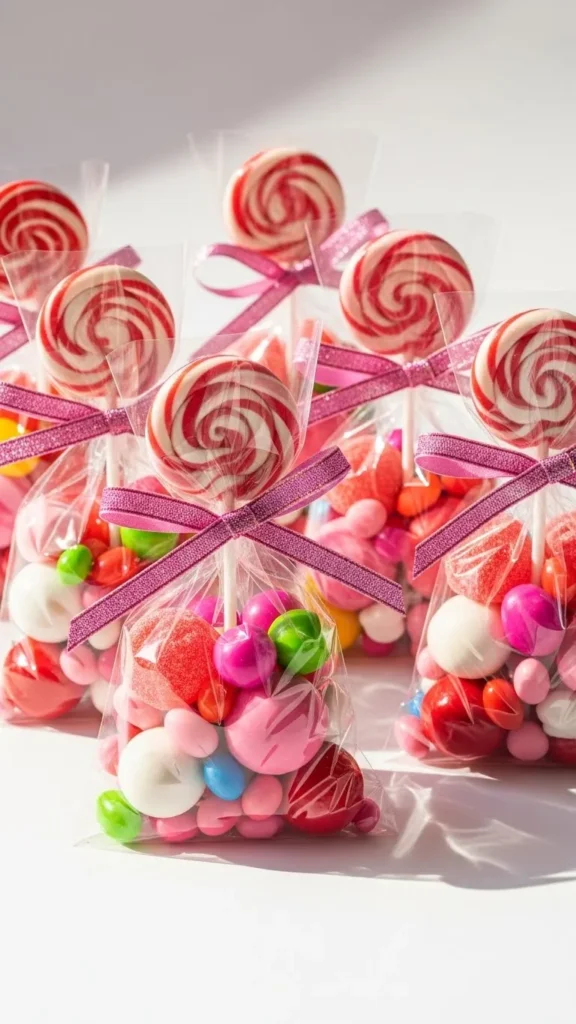
Pink candy bags are quick to assemble. Use clear bags and fill with one or two candy types. Tie with ribbon at the top.
Keeping it simple helps with cost and time. These are great for last-minute treats or classroom events. They store well and transport easily.
Choose candies that don’t melt easily. Single-color candy bags look clean and cheerful without extra decoration.
Chocolate Heart Stacks
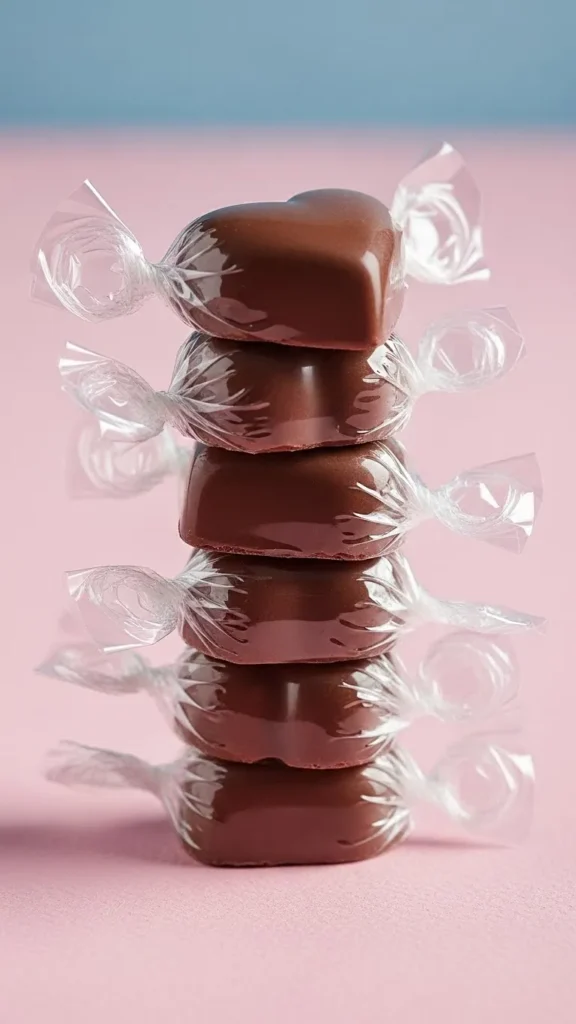
Stacking chocolate hearts creates a tidy look. Place three or four hearts together and wrap in clear film. Tie with ribbon.
These stacks work well as table settings or gift add-ons. They take minutes to assemble and use minimal supplies.
Buying chocolate hearts in bulk keeps costs down. Repetition and neat wrapping give these stacks a polished feel.
Candy-Filled Paper Boxes
Paper boxes are easy to fold and customize. Fill them with small candies and close with a sticker or ribbon.
They are lightweight and stackable. Use scrapbook paper or plain kraft paper to save money. Handmade packaging adds charm without spending much.
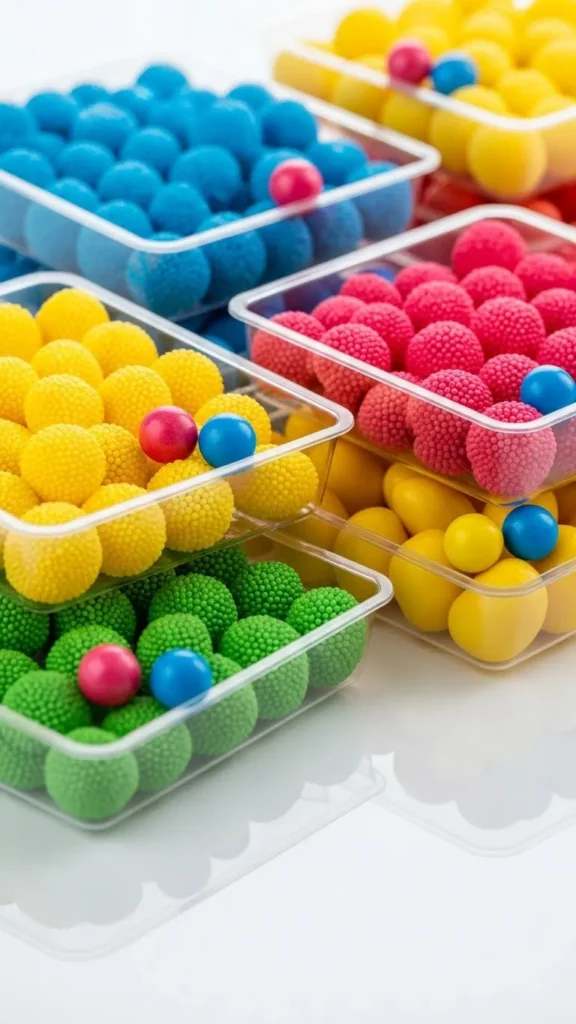
Sweet Color Sort Candy Cups
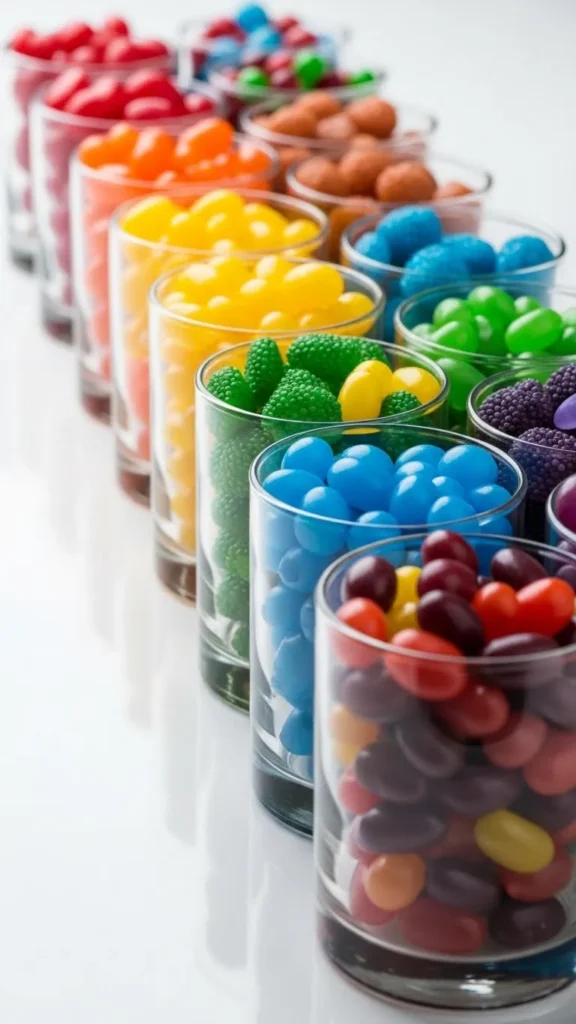
Sorting candy by color feels playful and organized. Use clear cups so the colors show clearly.
This idea works well for kids’ tables or party displays. It also helps control portions. Color order makes candy feel intentional, not random.
Valentine Candy Wands
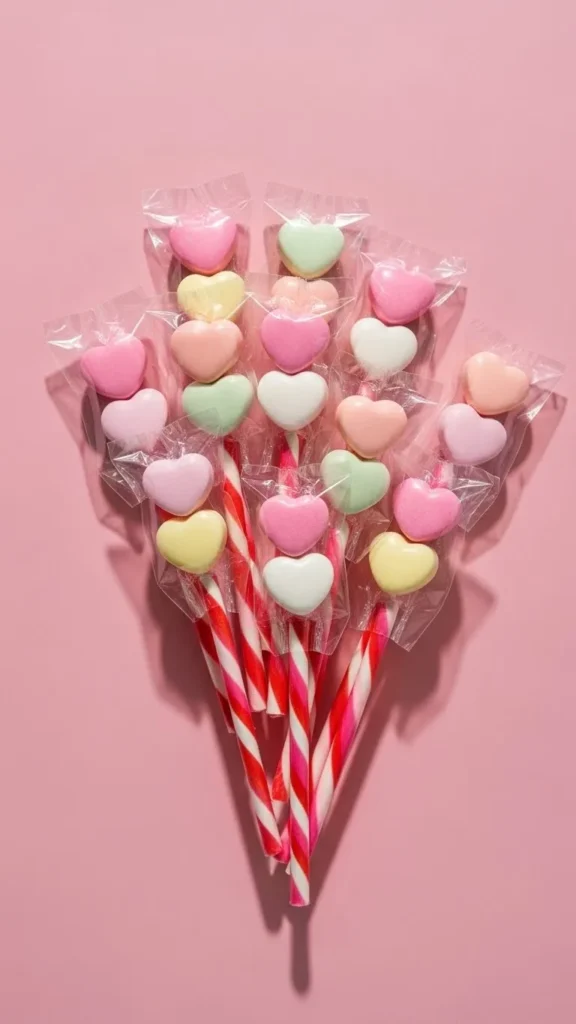
Candy wands are simple to make. Use cellophane and fill with small candies, then twist the ends.
They are fun for kids and easy to hand out. Keep candy lightweight so the wand holds its shape.
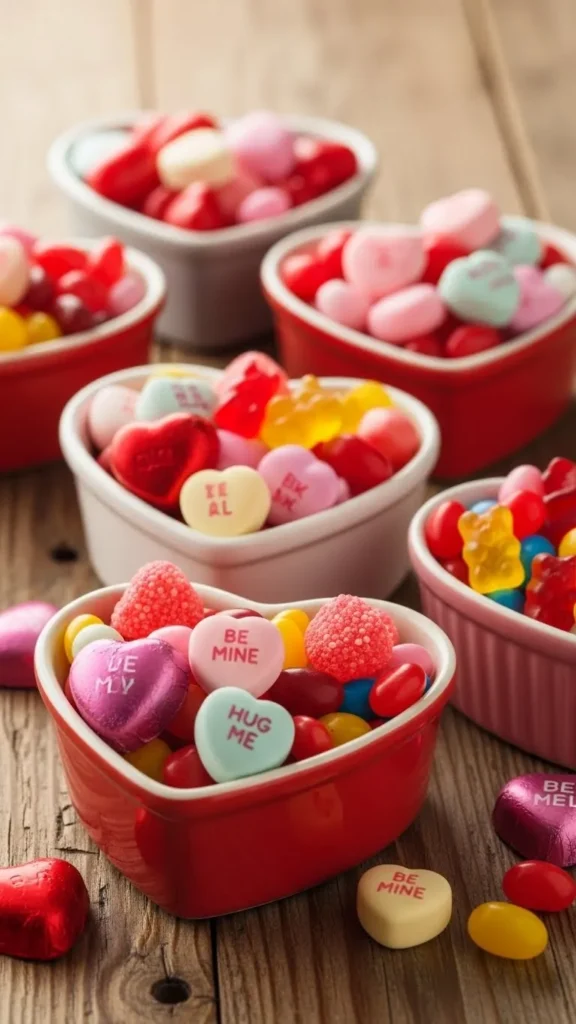
Heart-Shaped Candy Trays
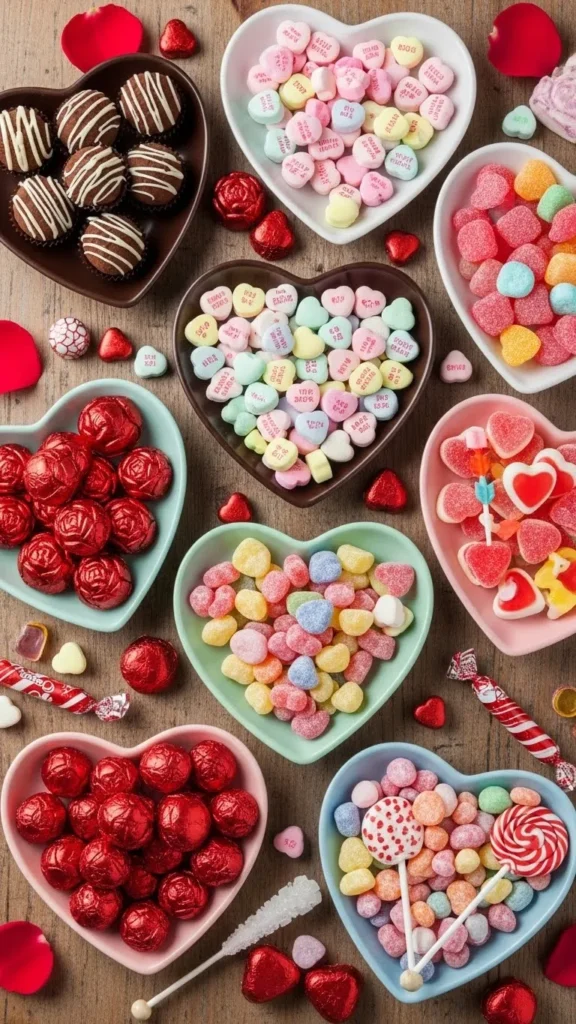
Heart trays bring instant theme appeal. Fill with mixed candy and place on a table.
Use reusable trays to save money. Simple shapes set the mood without extra work.
Candy Letter Cups
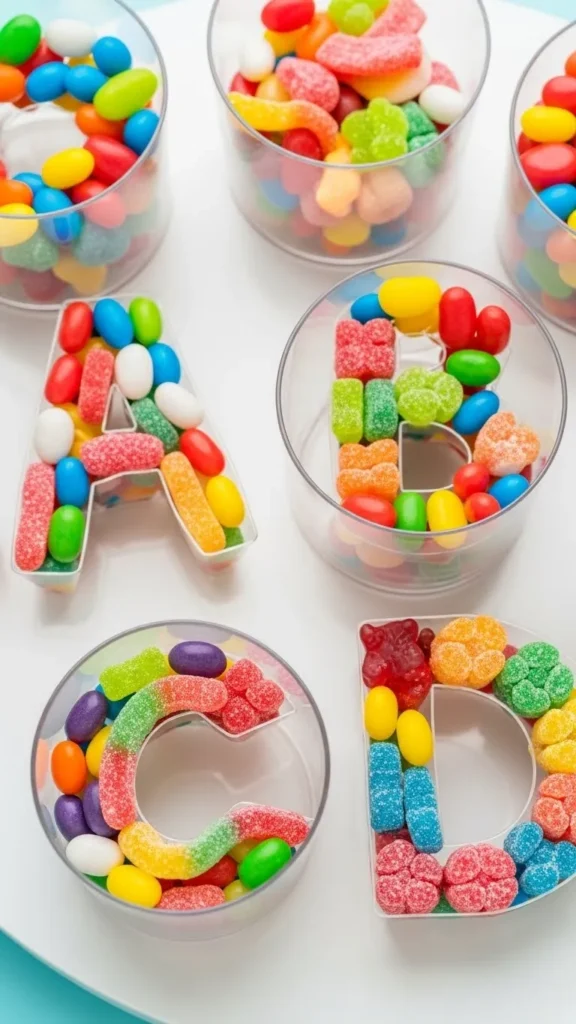
Arrange candies inside cups to form simple letters or shapes. Keep it minimal for clarity.
This works well for initials or simple symbols. It feels personal but stays easy.
Mini Candy Gift Bowls
Small bowls make candy feel ready to enjoy. Choose bowls you already own to save money.
Place one at each seat or cluster them on a table.
Wrapped Heart Candy Sets
Bundle a few candies together and wrap them. Tie with ribbon.
This is fast and works for any group size.
Candy Sprinkle Scoops
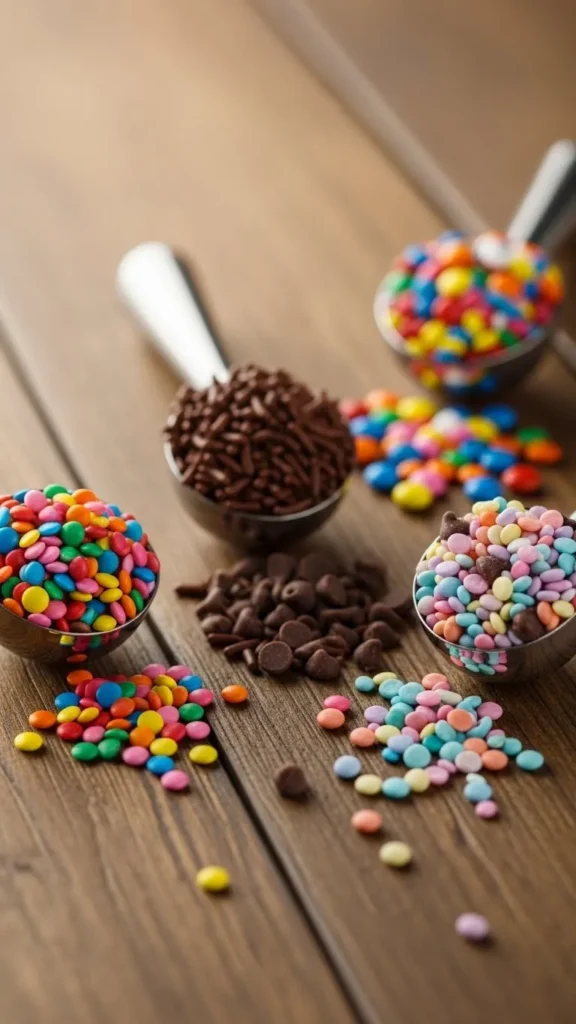
Use mini scoops or spoons to hold candy. Place them in jars or trays.
This adds a playful touch with minimal effort.
Pink and Red Candy Layers
Layer candy by color in jars. Keep lines clean for a tidy look.
This style feels calm and organized.
Heart Candy Cups with Lids
Lidded cups keep candy clean. Fill and stack them easily.
They work well for travel or gifting.
Mini Candy Bar Boxes
Use small boxes to hold mini bars. Arrange them evenly.
This idea is quick and reliable.
Candy Mix Paper Pouches
Paper pouches feel casual and cute. Fold the top and secure with tape or ribbon.
They store flat and save space.
Valentine Candy Cups with Toppers
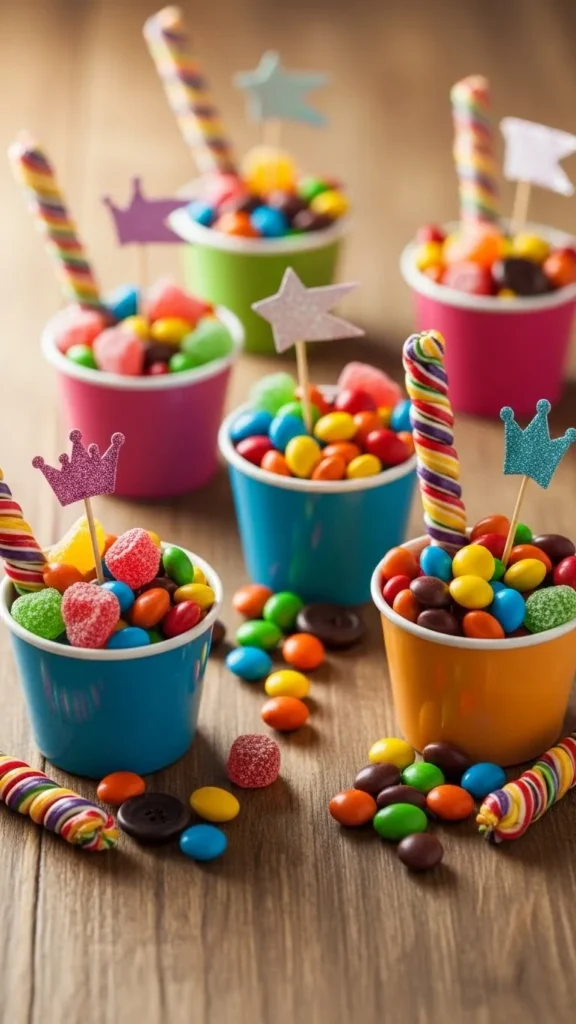
Add simple toppers like picks or charms. This adds height and interest.
Keep supplies simple to stay on budget.
Heart Candy Favor Jars
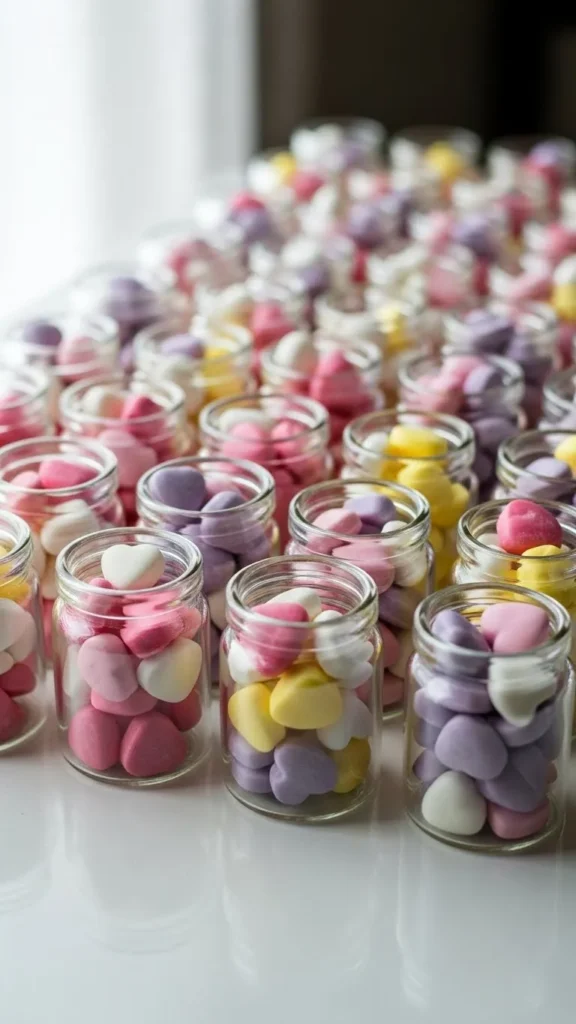
Tiny jars are easy to fill and gift. Use leftover jars if possible.
They feel personal and reusable.
Color Pop Candy Trays
Group candy by color on trays. Keep spacing even.
This creates a tidy display fast.
Valentine Candy Grab Bags
Grab bags are practical and quick. Fill and tie.
They work for any age group.
Conclusion
These Valentine’s Day candy ideas show how small details can make simple treats feel special. By using clear containers, color grouping, and easy assembly, you can create cute candy displays without spending much or stressing over supplies. Pick one or two ideas that fit your space and time. Prep them ahead, enjoy the process, and let the candy bring smiles to everyone who sees it.

Leave a Reply