
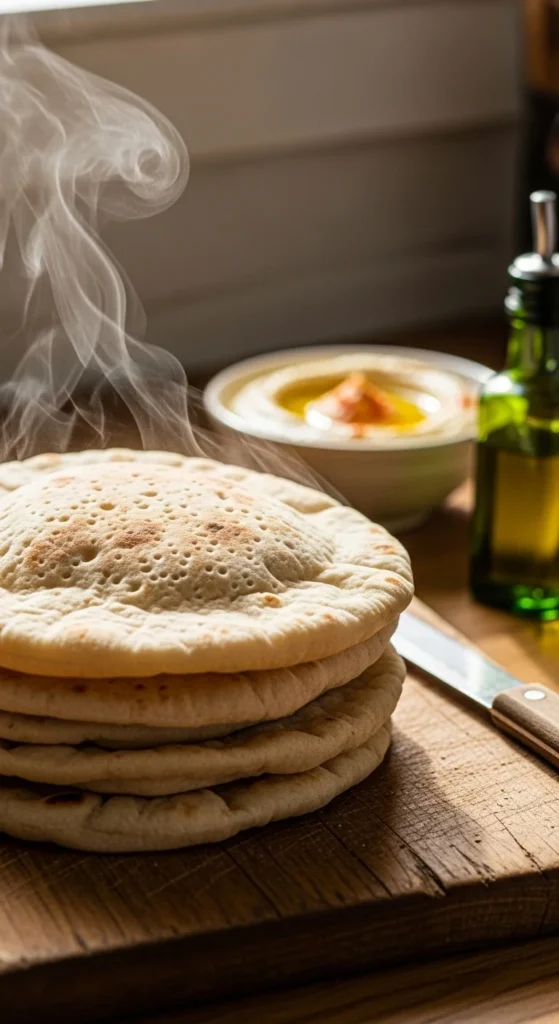
There’s something magical about watching pita bread puff up right before your eyes. Soft, warm, and golden, it’s the kind of homemade comfort that instantly elevates any meal—from dips and wraps to pizzas and sandwiches. The best part? You only need a few pantry staples and a bit of patience to achieve that perfect pocket.
Let’s walk through how to make authentic, fluffy pita bread at home—without any fancy equipment!
The Essential Ingredients for Perfect Pita
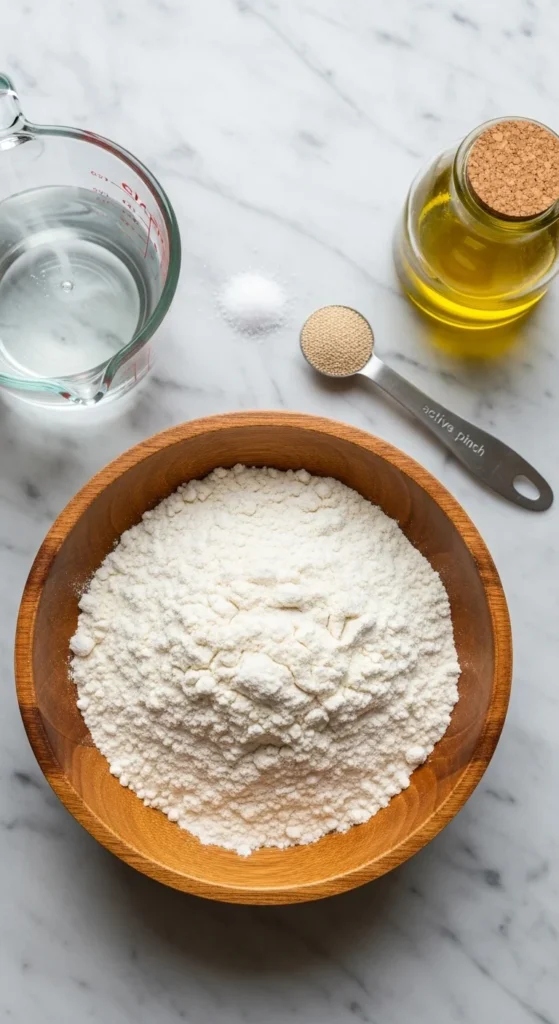
Making pita bread from scratch requires simple ingredients you probably already have on hand.
You’ll Need:
- 2 ½ cups all-purpose flour (plus extra for dusting)
- 1 teaspoon salt
- 1 teaspoon sugar
- 1 packet (2 ¼ teaspoons) active dry yeast
- 1 cup warm water (about 100°F / 38°C)
- 2 tablespoons olive oil
That’s it! No complicated additives—just wholesome ingredients coming together beautifully.
Step 1: Activate the Yeast
In a small bowl, combine warm water, sugar, and yeast. Stir gently and let it sit for about 5–10 minutes until it becomes foamy. This means your yeast is alive and ready to work its magic.
Tip: If it doesn’t foam, your yeast may be expired or the water may be too hot. Try again with fresh yeast and slightly cooler water.
Step 2: Mix and Knead the Dough
In a large mixing bowl, combine flour and salt. Pour in the yeast mixture and olive oil. Stir with a wooden spoon or your hands until a shaggy dough forms.
Transfer the dough to a lightly floured surface and knead for about 8–10 minutes. You’re aiming for a smooth, elastic texture that’s soft but not sticky.
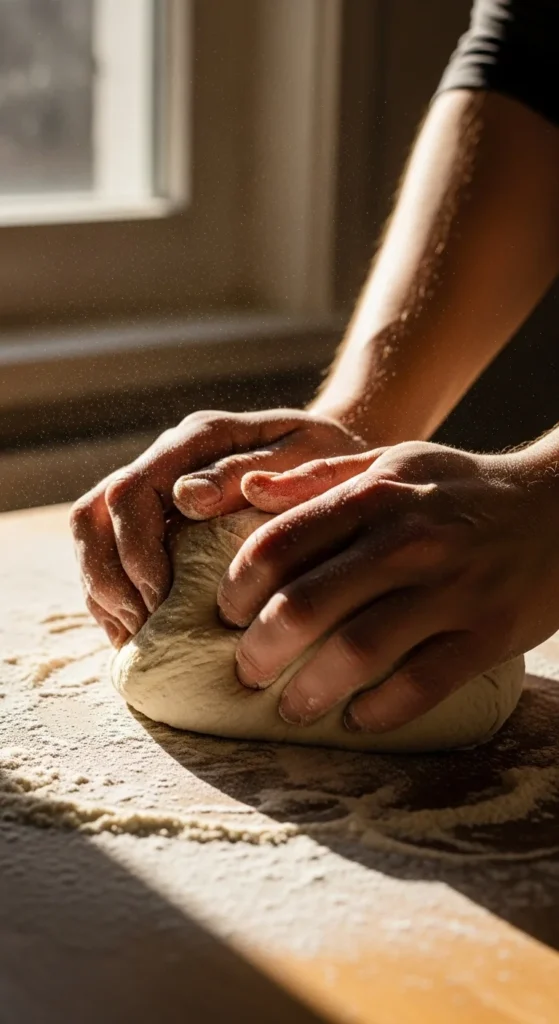
Pro Tip: If the dough feels too sticky, sprinkle in more flour a tablespoon at a time until it becomes manageable.
Step 3: Let It Rise
Place the kneaded dough in a lightly oiled bowl, turning it once to coat it evenly. Cover with a clean towel or plastic wrap and let it rest for 1–1.5 hours, or until it doubles in size.
During this time, the yeast ferments the dough, creating those air pockets that will make your pita puff beautifully.
Step 4: Shape the Pitas
Once the dough has risen, punch it down gently to release excess air. Transfer it to a floured surface and divide it into 8 equal pieces.
Roll each piece into a smooth ball, then flatten it into a 6-inch circle using a rolling pin or your hands. Keep them evenly thick (about ¼ inch) to ensure consistent puffing in the oven.
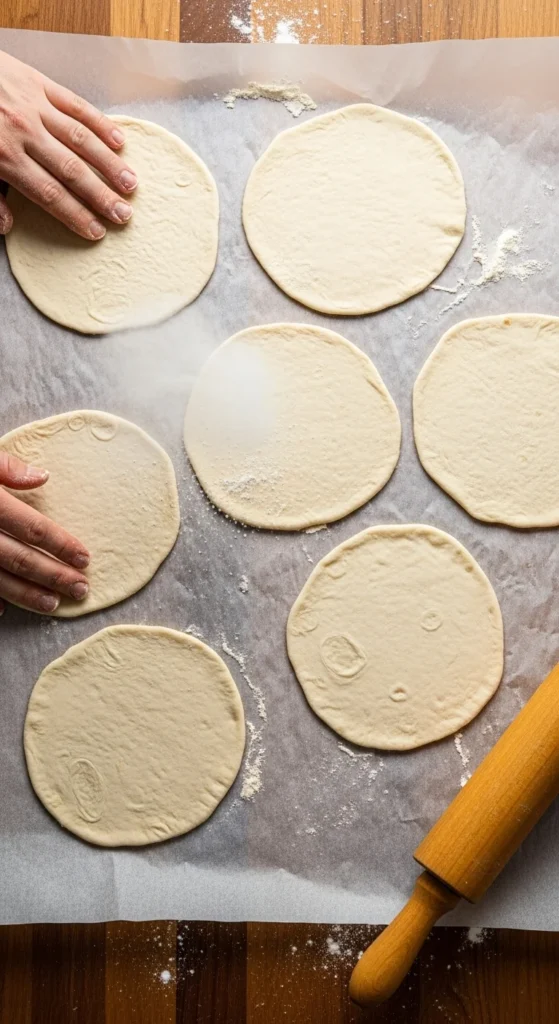
Tip: Cover the rolled-out pitas with a damp towel while you work to prevent drying out.
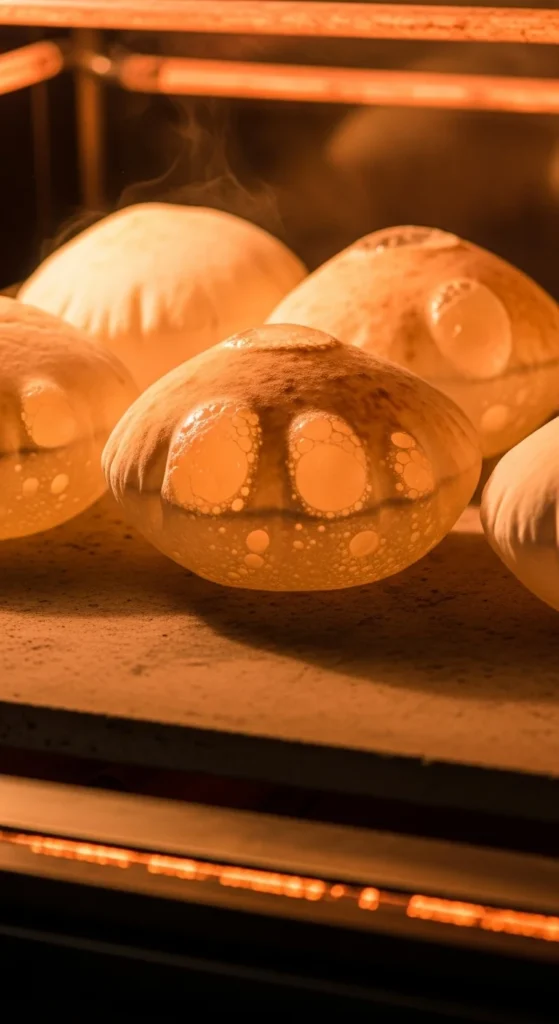
Step 5: Cook the Pitas (Oven or Stovetop)
Option 1: Oven Method
- Preheat your oven to 475°F (245°C) and place a baking stone or heavy baking sheet inside to heat up.
- Once hot, place 2–3 pitas on the surface and bake for 2–3 minutes, until they puff up like balloons.
- Flip and bake for another 1 minute if you prefer a lightly browned surface.
Option 2: Stovetop Method
- Heat a cast iron skillet or non-stick pan over medium-high heat.
- Cook each pita for 1–2 minutes per side, flipping when it starts to puff and form golden spots.
Both methods produce beautiful, soft pitas—oven baking gives more even puffing, while stovetop cooking gives slightly charred flavor.
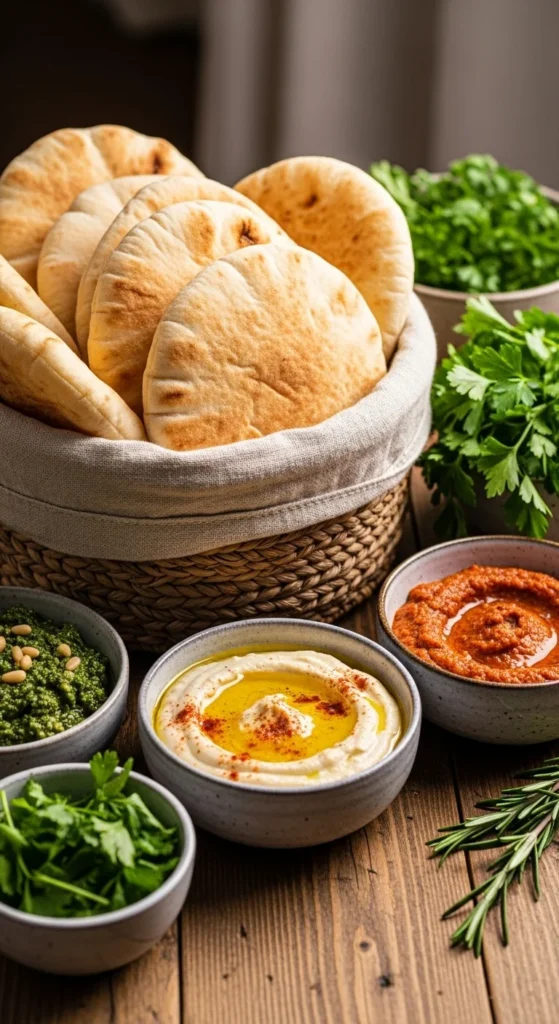
Step 6: Serve Fresh and Store Smart
Once cooked, wrap the pitas in a clean kitchen towel to keep them soft and warm. Serve them fresh with:
- Hummus or baba ghanoush
- Grilled chicken or falafel wraps
- Fresh salad pockets
- Homemade pizza bases
To store:
- Keep them in an airtight bag at room temperature for up to 2 days.
- For longer storage, freeze with parchment paper between each pita to prevent sticking.
Bonus Tips for Fluffy, Perfect Pockets
- Use warm water only: Cold water won’t activate the yeast properly.
- Don’t over-roll: Too thin, and your pitas won’t puff.
- Preheat properly: Whether oven or pan, heat is key to creating that air pocket.
- Rest the dough rounds: Letting them rest 10–15 minutes before cooking helps gluten relax and puff better.
Bring Homemade Comfort to the Table
Making pita bread at home isn’t just about the end result—it’s about the process. Watching your dough rise, seeing it puff in the oven, and tearing into a soft, warm pita is pure satisfaction.
Once you try it, you’ll never go back to store-bought!
Save this recipe for later—and impress your family with the fluffiest, most flavorful pitas you’ve ever made.

Leave a Reply