
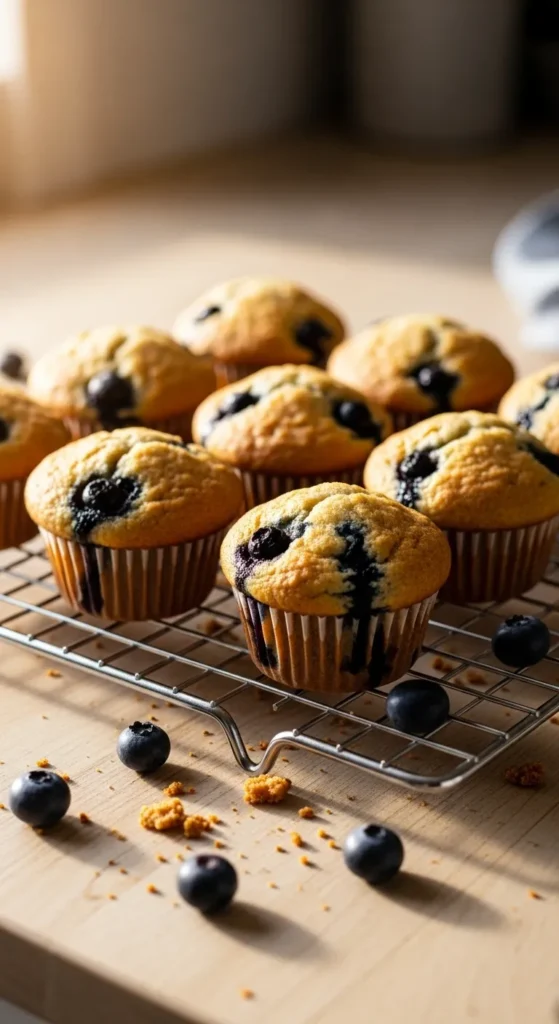
Gluten-free breakfasts get a bad rap for being crumbly, chalky, or oddly dense—but it doesn’t have to be that way. With the right techniques and ingredients, gluten-free mornings can be just as soft, fluffy, and satisfying as traditional favorites.

The secret isn’t one magic ingredient—it’s understanding why gluten-free foods dry out and how to replace what gluten normally does. Let’s break it down in a practical, kitchen-friendly way.
Why Gluten-Free Breakfasts Often Turn Dry
Gluten acts like a natural net. It traps moisture, adds elasticity, and gives baked goods structure. When you remove it, you’re left with flours that absorb liquid fast but don’t hold it well.
Common causes of dryness include:
- Overusing rice flour or starch-heavy blends
- Not enough fat or moisture
- Skipping binders that replace gluten’s structure
- Overbaking (gluten-free foods dry out faster)
The fix? Balance. Moisture + fat + structure—every time.
Choose the Right Gluten-Free Flour Blend
Not all gluten-free flours behave the same. Texture starts here.
Best flours for moist breakfasts:
- Oat flour (certified gluten-free): Soft, tender crumb
- Almond flour: Adds fat and richness
- Sorghum flour: Mild flavor, great moisture retention
- Buckwheat flour: Surprisingly soft and hearty
Try to avoid using just one flour.
A blend works best:
- 40% whole-grain flour (oat, sorghum)
- 40% starch (tapioca or potato starch)
- 20% protein/fat-rich flour (almond or seed flour)
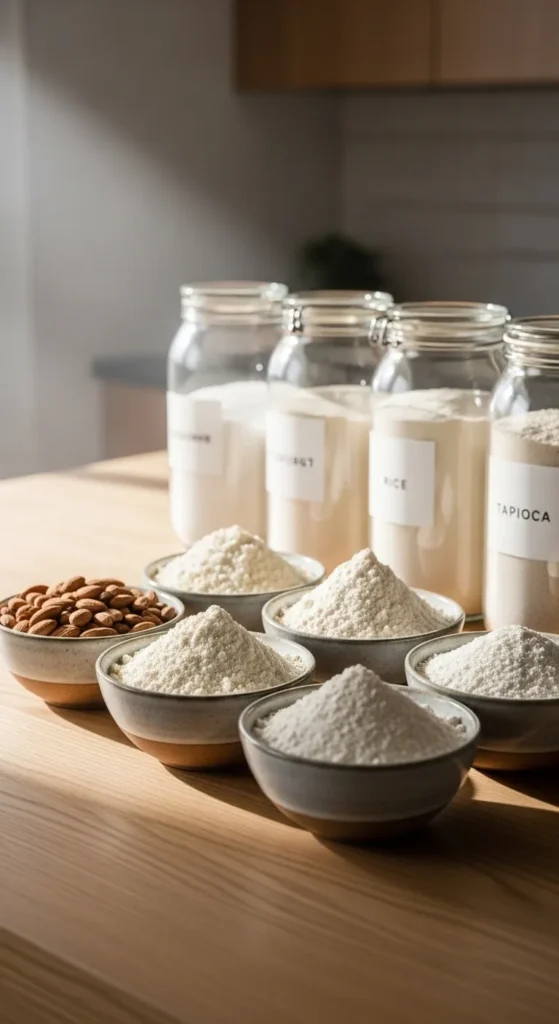
This combination keeps pancakes fluffy, muffins tender, and breakfast loaves from crumbling.
Don’t Skip the Moisture Builders
Moisture doesn’t just come from liquids—it comes from ingredients that hold water.
Add one or more of these to gluten-free breakfasts:
- Mashed banana or applesauce
- Plain yogurt or dairy-free yogurt alternatives
- Pumpkin or sweet potato puree
- Nut butters or seed butters
- Olive oil or melted butter
These ingredients slowly release moisture as the food cooks, preventing that dry, crumbly bite.
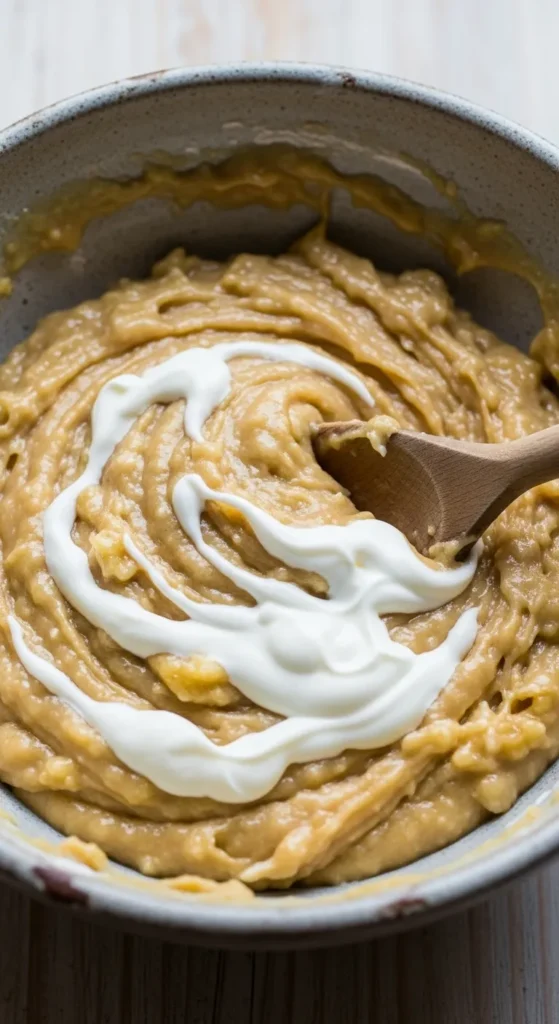
Pro tip:
Gluten-free batters should look slightly looser than traditional batters. Thick batter often bakes up dry.
Use Binders That Mimic Gluten
This step changes everything.
Binders hold moisture and give structure, which is exactly what gluten used to do.
Reliable gluten-free binders:
- Eggs (whole eggs add both structure and moisture)
- Ground flaxseed + water (flax “gel”)
- Chia seeds soaked in water
- Psyllium husk powder (especially for breads)
You don’t need much:
- 1 tablespoon ground flax + 2.5 tablespoons water = 1 egg replacement
- ½ teaspoon psyllium husk powder per cup of flour can dramatically improve softness
These binders reduce crumbling and keep breakfast foods soft even the next day.
Cook Gently and Avoid Overbaking
Gluten-free breakfasts go from perfect to dry very quickly.
Smart baking habits:
- Lower oven temperature by 10–15°F if possible
- Check doneness early
- Remove when the center is just set
- Let baked goods rest before cutting
Resting allows moisture to redistribute instead of escaping as steam.
For stovetop breakfasts like pancakes or waffles:
- Cook on medium-low heat
- Flip once bubbles fully form
- Avoid pressing them down while cooking
Add Moisture After Cooking
This is a simple but overlooked trick.
Ways to add moisture at serving time:
- Brush pancakes lightly with melted butter
- Add warm fruit compote
- Top with yogurt and fresh fruit
- Serve muffins slightly warm
Even the best gluten-free breakfast benefits from a finishing touch that adds softness and richness.
Build a Go-To Formula for Success
Once you know the pattern, gluten-free breakfasts become easy:
- Blend flours
- Add fat
- Use a binder
- Keep batter moist
- Cook gently
Stick to this formula, and dry gluten-free breakfasts become a thing of the past.
Final Takeaway
Gluten-free breakfasts don’t need to be dry, dense, or disappointing. With smarter flour choices, moisture-holding ingredients, and gentle cooking, you can create breakfasts that feel comforting, fluffy, and crave-worthy every single morning.
Save this guide for later—and enjoy gluten-free breakfasts that finally get the texture right.

Leave a Reply