
Mornings move fast—and breakfast often gets left behind. That’s where homemade breakfast bars come in. They’re hearty, portable, and endlessly customizable, making them perfect for busy weekdays, school mornings, or post-workout fuel. The best part? You can make a whole batch ahead of time with simple pantry staples and know exactly what’s going into them.
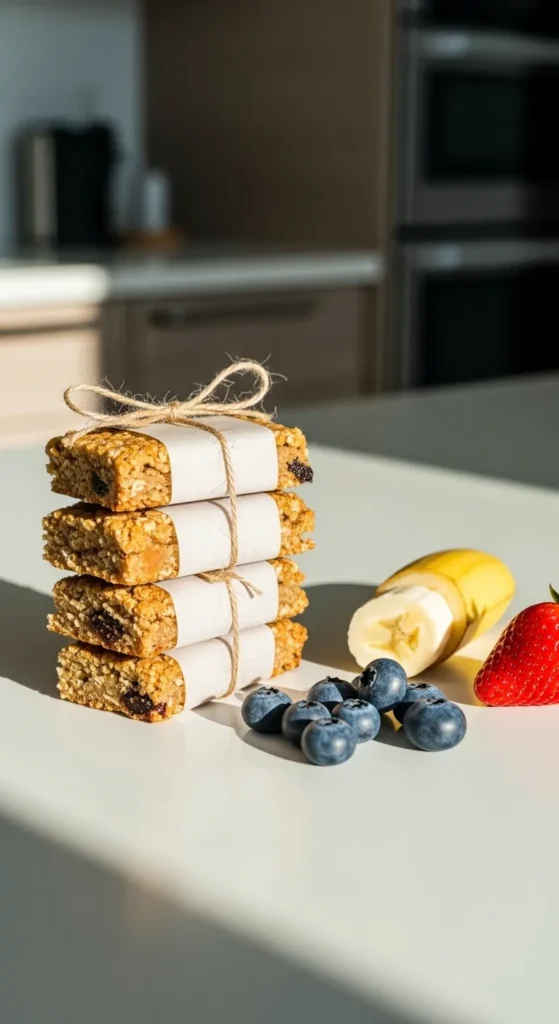
Below is a step-by-step, beginner-friendly guide to making grab-and-go breakfast bars that actually keep you full and taste amazing.
Why Breakfast Bars Are a Smart Make-Ahead Option
Breakfast bars aren’t just convenient—they’re practical nutrition in bar form.
Here’s why they work so well:
- Easy to prep once and enjoy all week
- Balanced mix of fiber, healthy fats, and protein
- Portable with no reheating required
- Customizable for different tastes and dietary needs
Homemade versions also avoid the overly sweet, overly processed feel of many store-bought options.
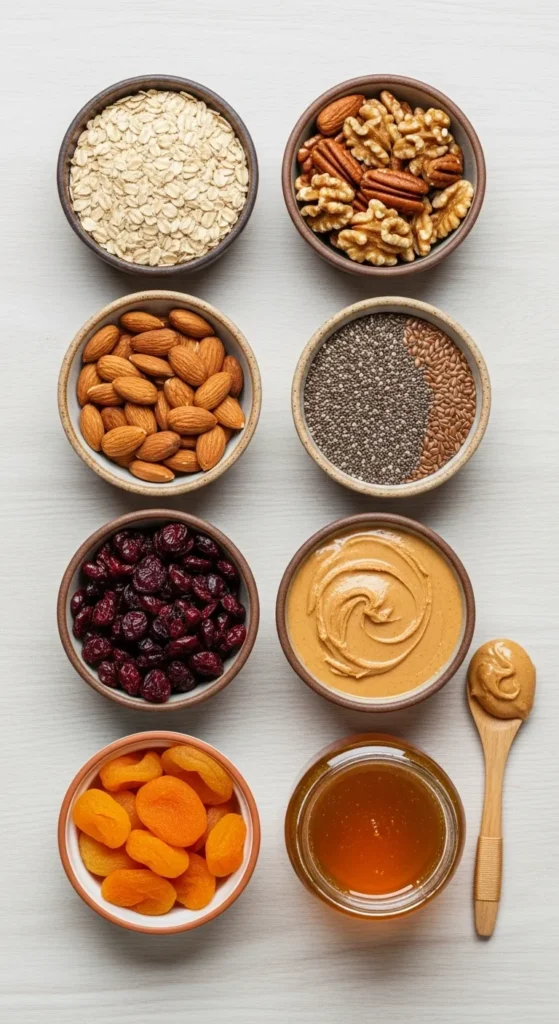
Core Ingredients That Make a Great Breakfast Bar
A good breakfast bar starts with the right building blocks. Think texture, structure, and staying power.
Base ingredients (structure):
- Rolled oats (old-fashioned oats work best)
- Nut or seed butter for binding
- Natural sweeteners like honey or maple syrup
Mix-ins (nutrition + flavor):
- Nuts or seeds for crunch
- Dried fruit for natural sweetness
- Unsweetened coconut flakes
- Dark chocolate chips (optional but popular)
Why this combination works:
Oats provide slow-digesting carbohydrates, nuts and seeds add healthy fats, and natural sweeteners help bind everything together without overwhelming sweetness.
How to Make Breakfast Bars Step by Step
This method works for both baked and no-bake styles, with small adjustments.
1. Prep Your Pan
Line a square baking pan with parchment paper, leaving overhang on the sides. This makes removal easy and keeps bars intact.
2. Mix the Dry Ingredients
In a large bowl, combine:
- Rolled oats
- Chopped nuts or seeds
- Dried fruit
- Any spices like cinnamon or vanilla powder
Stir until evenly distributed.
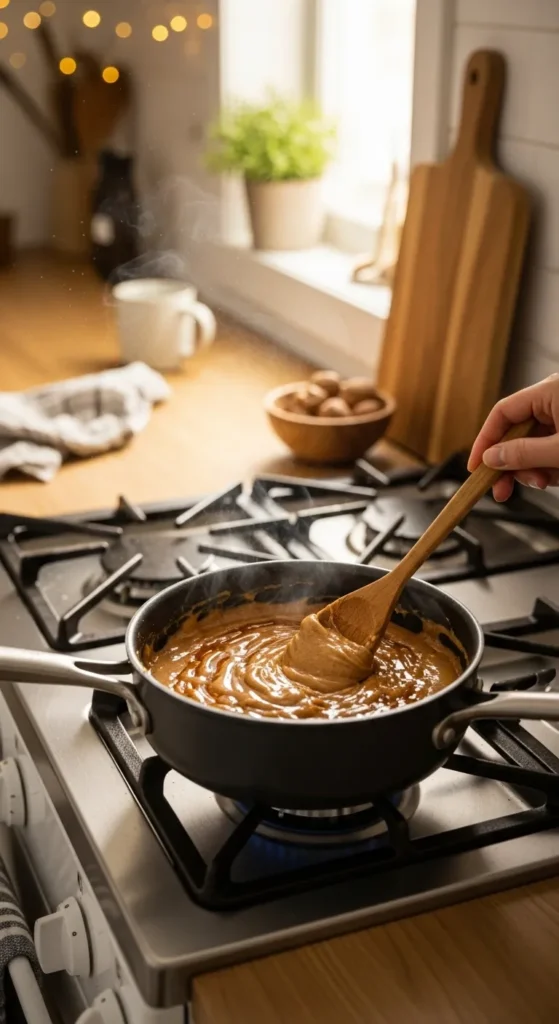
3. Warm the Binding Ingredients
Gently heat nut butter and sweetener until smooth and pourable. This helps everything combine evenly.
4. Combine and Press
Pour the warm mixture over the dry ingredients. Stir thoroughly, then press the mixture firmly into the prepared pan. Pressing tightly helps the bars hold together.
5. Bake or Chill
- Baked bars: Bake until lightly golden and set.
- No-bake bars: Chill in the refrigerator until firm.
Let the bars cool completely before slicing.
Flavor Variations You’ll Want to Try
Once you master the base recipe, switching flavors is easy.
Popular combinations:
- Peanut butter + chocolate chips
- Almond butter + dried cherries
- Coconut + chopped dates
- Apple + cinnamon + walnuts
You can rotate flavors weekly to keep breakfasts exciting without extra effort.
Tips for Bars That Hold Together Perfectly
If your bars crumble or feel too soft, small tweaks make a big difference.
Troubleshooting tips:
- Press the mixture very firmly into the pan
- Don’t skimp on binding ingredients
- Let bars cool fully before slicing
- Chill before cutting for cleaner edges
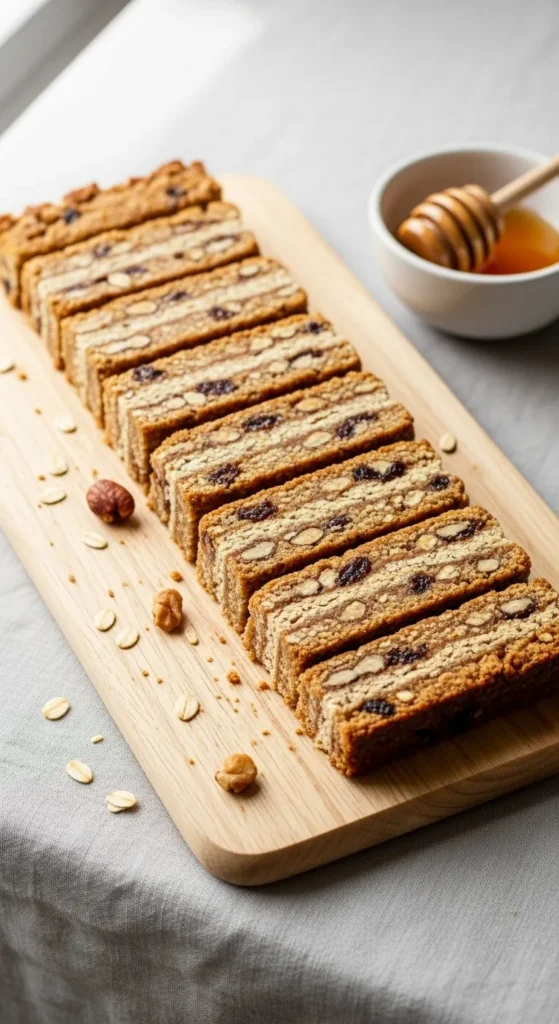
A sharp knife wiped clean between cuts also helps maintain neat slices.
Storage and Grab-and-Go Prep
Breakfast bars are ideal for batch prepping.
Storage options:
- Room temperature (airtight): up to 3 days
- Refrigerator: up to 7 days
- Freezer: up to 3 months
Wrap individual bars in parchment or reusable wraps so they’re ready to grab on the way out the door.
Make Them Work for Your Lifestyle
These bars are flexible enough to fit almost any routine:
- Busy work mornings
- School snacks
- Travel days
- Pre- or post-exercise fuel
Adjust sweetness, portion size, or mix-ins to match your needs without changing the method.
Final Takeaway
Homemade breakfast bars are one of the easiest ways to make mornings smoother while still eating something satisfying. With simple ingredients, one pan, and a little prep time, you’ll have a week’s worth of breakfasts ready to go.
Save this recipe for later, and try a new flavor combo next time—you’ll never look at rushed mornings the same way again.

Leave a Reply