
There’s something magical about the moment when you spread homemade jam on a warm slice of toast. The sweetness, the fruity aroma, and the satisfaction of knowing you made it yourself—nothing compares! Making jam at home is easier than you might think. With just a few simple ingredients and a bit of patience, you can preserve the best flavors of the season in a jar.
Let’s walk through how to make your own sweet homemade jam with fresh fruit—perfect for breakfast, desserts, or gifting to friends!
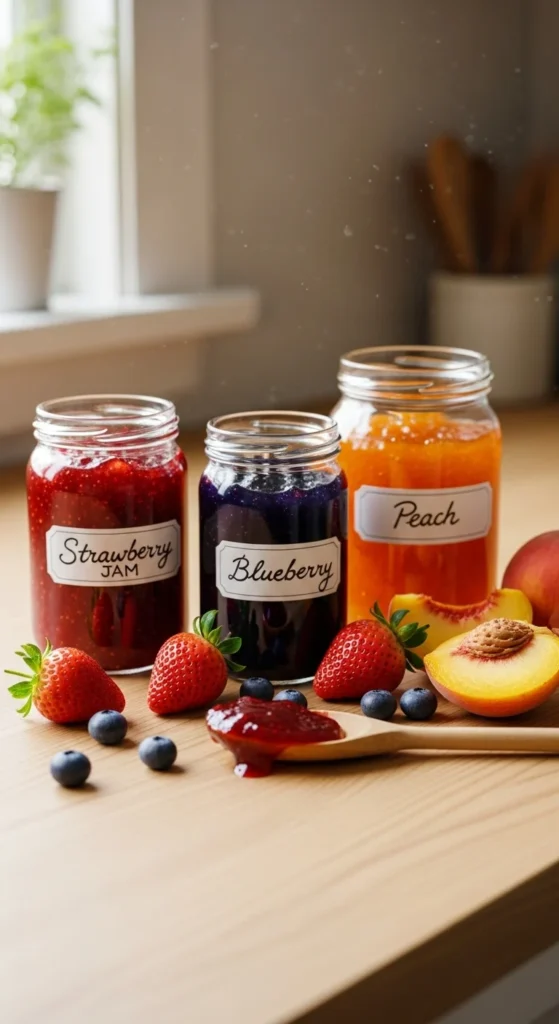
Gather Your Fresh Ingredients
Start with ripe, juicy fruit—the fresher, the better. You can use strawberries, blueberries, raspberries, peaches, plums, or even a mix. The key is to pick fruit that’s naturally sweet and fragrant.
You’ll need:
- 4 cups of chopped fresh fruit (your choice)
- 2 cups of granulated sugar (adjust to taste)
- 2 tablespoons of lemon juice (for brightness and natural pectin)
- Optional: 1 tablespoon of chia seeds or cornstarch for thickening

Tip: Slightly underripe fruit often works best because it contains more natural pectin, which helps the jam set without store-bought additives.
Step 1: Prepare the Fruit
Rinse your fruit under cool water and remove any stems, pits, or seeds. If you’re using berries, you can leave them whole or mash them lightly with a fork for a chunkier texture. Peaches or plums should be peeled and diced into small pieces.
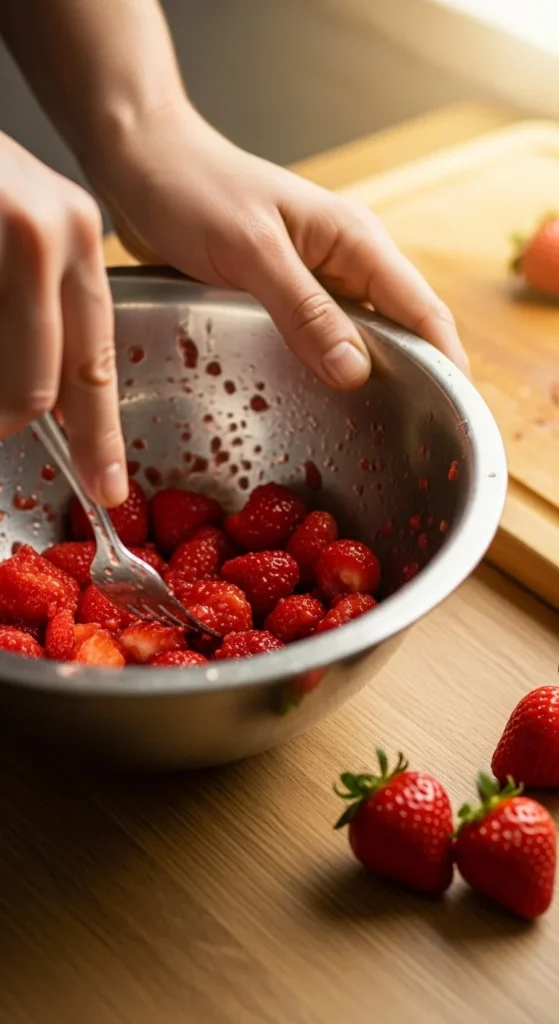
Pro Tip: Use a potato masher or the back of a spoon to crush the fruit. The more you mash, the smoother your jam will be.
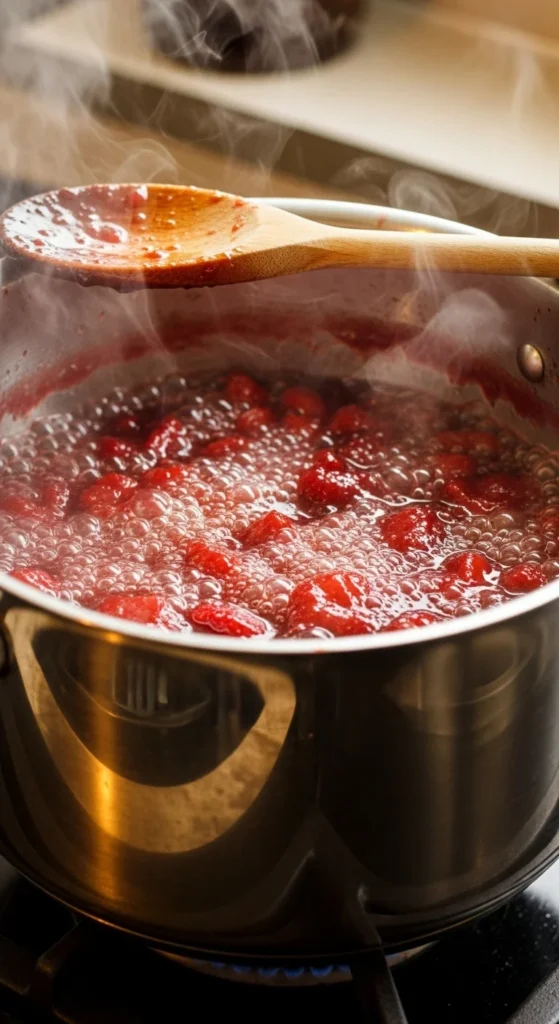
Step 2: Cook the Mixture
Place your prepared fruit, sugar, and lemon juice in a large saucepan. Set it over medium heat and stir constantly as the sugar dissolves. Once the mixture starts to bubble, lower the heat slightly and let it simmer.
- Stir frequently to prevent sticking.
- Skim off any foam that forms on the top.
- Simmer for about 20–30 minutes, until the mixture thickens.
You’ll know it’s ready when the jam coats the back of a spoon and drips slowly.
Testing Tip: To test if your jam is set, place a small spoonful on a chilled plate. If it wrinkles when you push it with your finger, it’s perfect!
Step 3: Optional Thickening (If Needed)
If your jam feels too thin, you can thicken it naturally:
- Stir in 1 tablespoon of chia seeds and let sit for 5 minutes—they’ll absorb excess liquid and create a lovely texture.
- Or, mix 1 teaspoon of cornstarch with a little water, then stir it into the jam and simmer for another minute.
This step is optional, but it’s great for those who prefer a jam that holds its shape on toast or pastries.
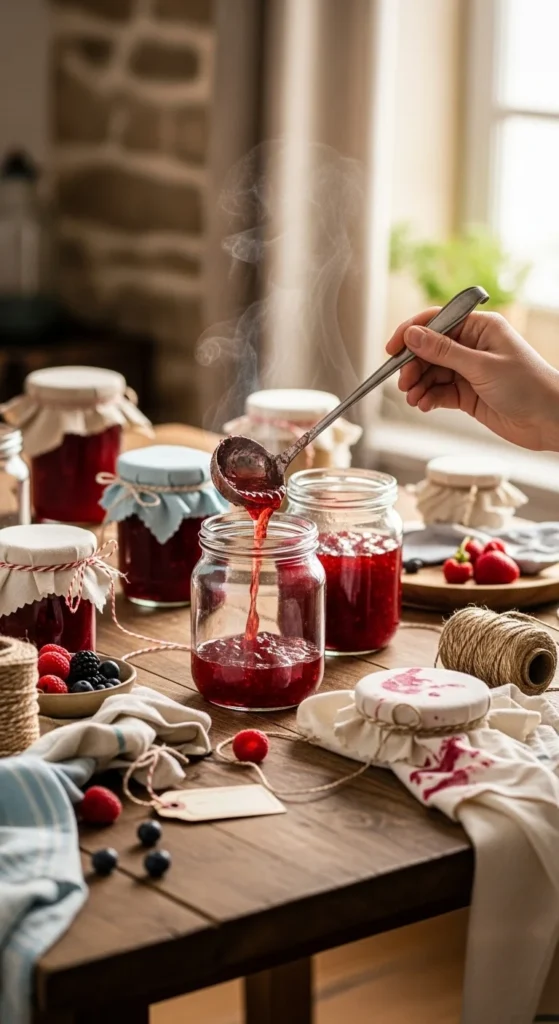
Step 4: Store It the Right Way
Once your jam has thickened, remove it from the heat and let it cool for 10 minutes. Carefully ladle the warm jam into sterilized glass jars, leaving about ½ inch of space at the top. Wipe the rims clean and seal tightly.
Let the jars cool completely before refrigerating. Properly sealed jam can last up to:
- 3 weeks in the refrigerator, or
- 6–8 months in the freezer.
Step 5: Enjoy Your Homemade Creation
Now comes the best part—enjoying your sweet homemade jam! Spread it on toast, swirl it into yogurt, drizzle it over pancakes, or use it as a filling for cookies and pastries. You’ll love the pure fruit flavor that store-bought jams just can’t match.

Extra Tips for Perfect Jam Every Time
- Adjust sweetness: Taste as you go! Some fruits (like raspberries) are tangier and may need more sugar.
- Add a flavor twist: Try stirring in a bit of vanilla extract or cinnamon once the jam has cooled slightly.
- Label your jars: If you’re making multiple batches, jot down the fruit type and date—it makes sharing and storing easier.
A Sweet Homemade Tradition
Making jam at home is more than just a recipe—it’s a comforting tradition that captures the essence of summer and early fall. With each spoonful, you’re reminded of the joy of fresh fruit and the care that goes into every jar.
So grab your favorite fruit, roll up your sleeves, and start simmering! Once you taste your own creation, you’ll never go back to store-bought again.
Save this recipe for later—and share it with someone who loves a sweet homemade touch!

Leave a Reply