
St Patrick’s Day desserts are all about charm, color, and simple fun. Rice Krispie treats fit that vibe perfectly. They are quick to make, easy to shape, and friendly on the wallet. You can dress them up with green drizzle, playful molds, or pantry candy. This list focuses on cute ideas you can actually pull off at home. No fancy tools. No stress. Just practical treats that work for parties, classrooms, or family nights. Each idea keeps steps simple and costs low while still looking special on the table.
1. Classic Green-Dipped Squares
Classic squares work every time. Dip one side into melted green coating. Let it set on parchment. That single step adds instant holiday style.
Keep the base plain. Butter, cereal, marshmallows. Nothing extra. This keeps costs low and flavors familiar.
Use store-brand melting wafers. They cost less and still coat smoothly. Add a drop of green food coloring if needed.
For clean edges, let treats cool fully before dipping. Warm treats crumble.
Line them up on a tray for parties. Stack them for bake sales.
If you want more detail, drizzle white coating over the green side. Use a spoon. No piping bag required.
These treats travel well and hold shape. Wrap in clear bags with green ribbon for easy gifting.
They look polished without extra effort, which makes them a smart starting point.
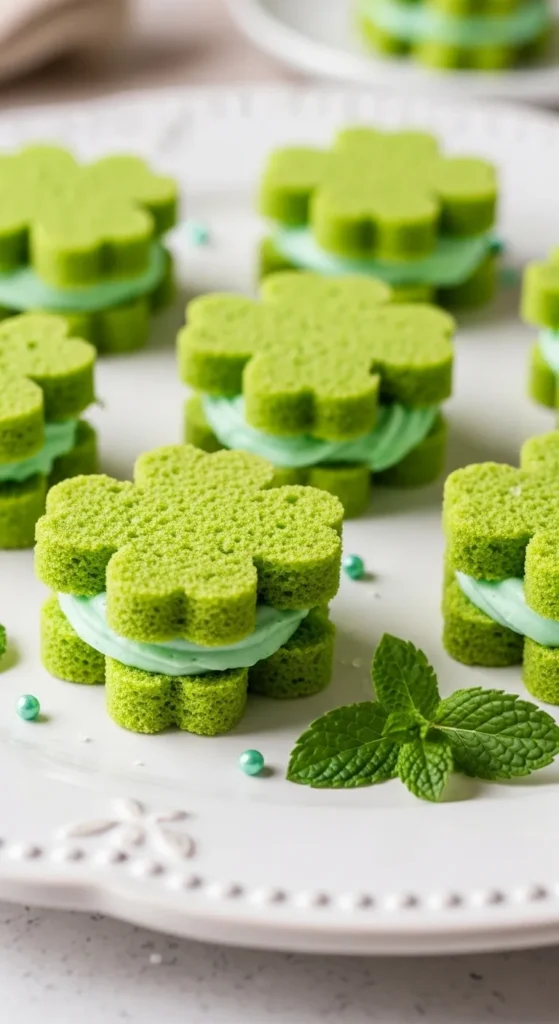
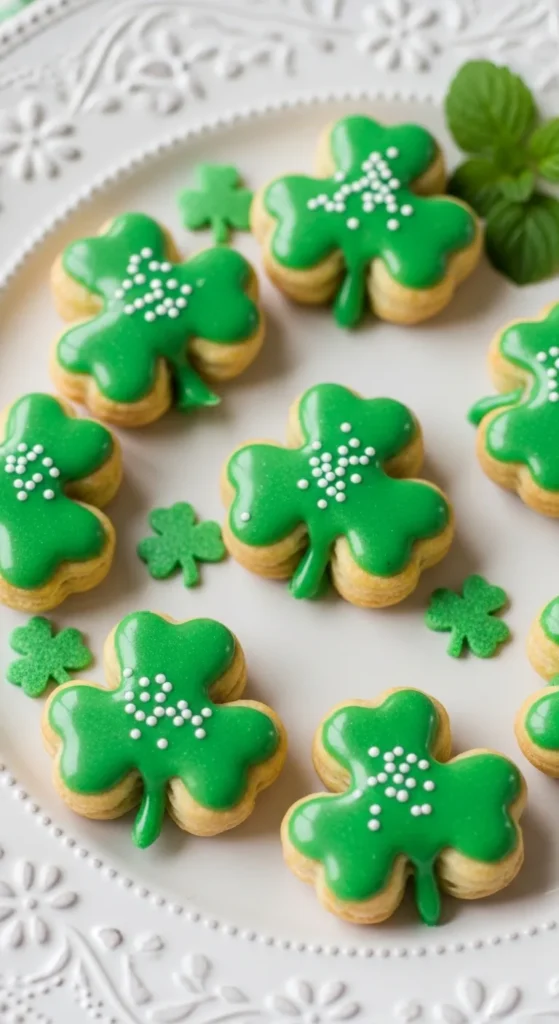
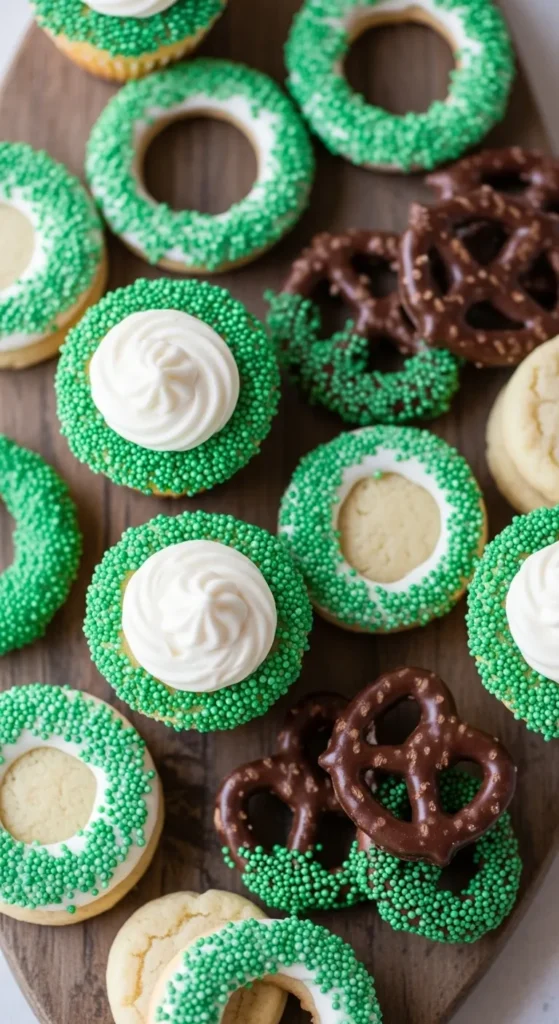
2. Shamrock Cookie Cutter Treats
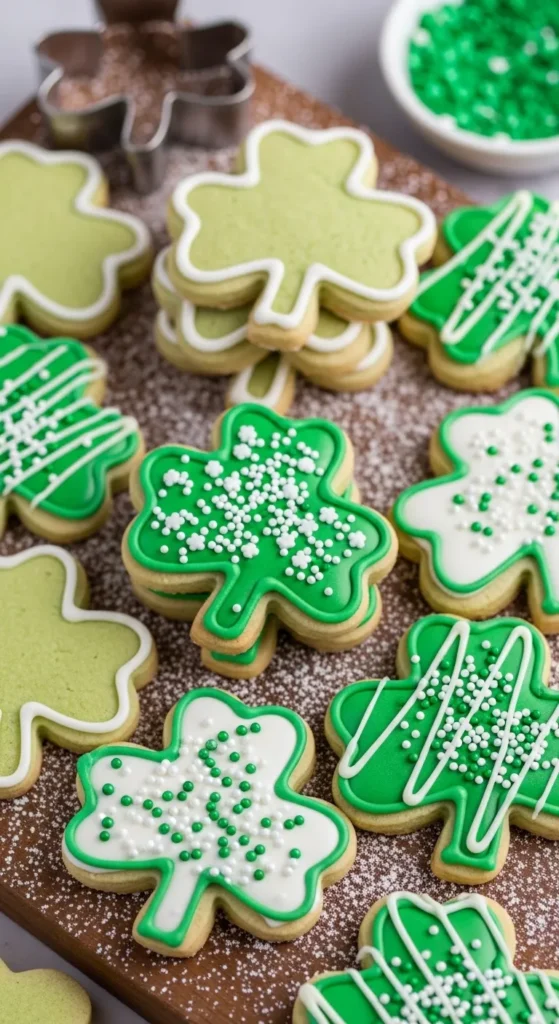
Cookie cutters make shaping simple. Press cooled treats into a flat pan. Cut shamrocks while slightly warm.
Use metal cutters for clean edges. Plastic can bend.
Re-press scraps into the pan and cut again. Nothing goes to waste.
Leave them plain or add a thin green drizzle. Too much topping hides the shape.
For classrooms, keep them undecorated. Kids recognize the shape right away.
Wrap individually for easy sharing.
This method saves time compared to hand shaping. It also keeps sizes even.
A light spray of cooking oil on the cutter helps release each piece.
These treats look thoughtful without extra cost or tools.
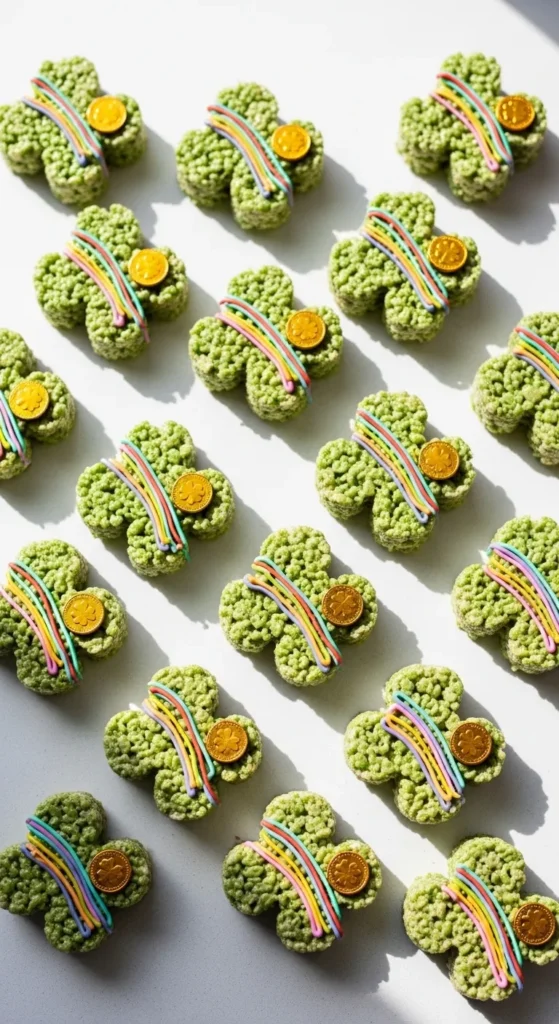
3. Lucky Gold Coin Toppers
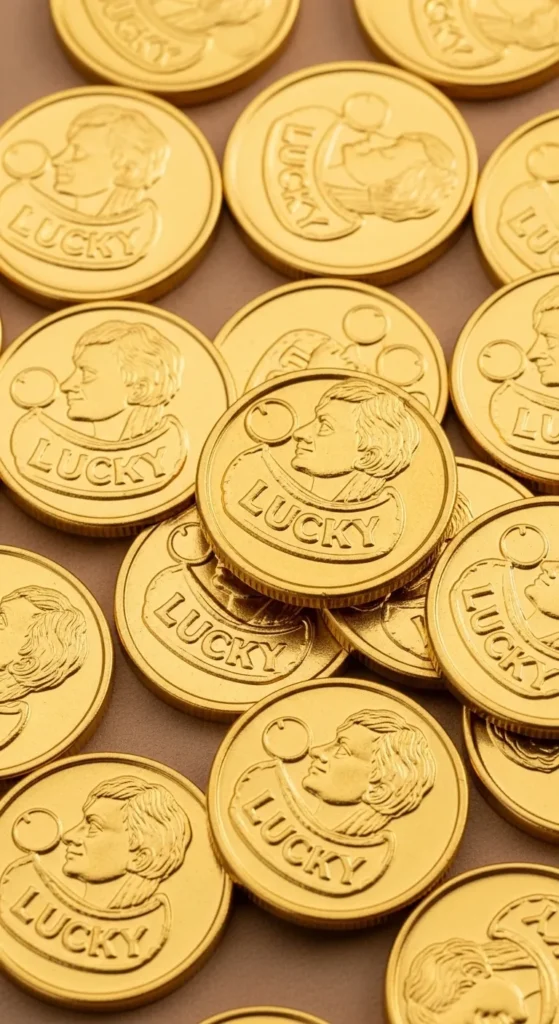
Gold coins add instant St Patrick’s Day energy. Press one coin gently into the top of each square.
Do this while treats are still warm so they stick.
Buy coins in bulk bags. One bag goes far.
Keep the base plain so the coin stands out.
For extra grip, add a small dot of melted coating under the coin.
These treats work well on dessert tables. The gold detail catches light.
Kids love the treasure feel. Adults appreciate the simple look.
Stack on a tray with green napkins for contrast.
This idea costs very little but looks intentional.
4. Rainbow Drizzle Bars
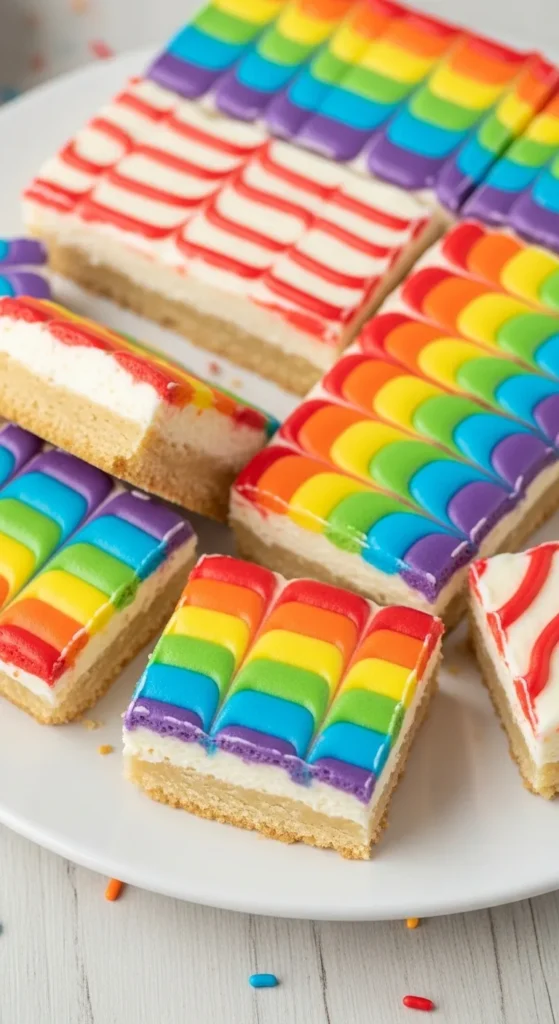
Rainbows tie perfectly into the holiday theme. Use small amounts of colored coating. Drizzle lightly across bars.
Stick to thin lines. Heavy drizzle feels messy.
Use zip bags with tiny corner snips. No special tools.
Let one color set before adding the next. This keeps lines clear.
Plain bars work best as the base.
These treats feel playful without being loud.
They photograph well for party spreads or sharing online.
If short on time, use just three colors. The idea still reads clearly.
This is a good option when you want color without extra candy costs.
5. Leprechaun Hat Treats

Cut treats into tall rectangles. Dip in dark coating.
Add a thin green strip around the middle.
Use a small square candy for the buckle.
Work in steps. Let each layer set before adding the next.
These treats take a bit more time but use simple shapes.
Make fewer of them and mix with plain bars on the tray.
That saves effort while still adding character.
Kids recognize the hat shape right away.
They work well as centerpiece treats.
6. Clover Sprinkle Squares
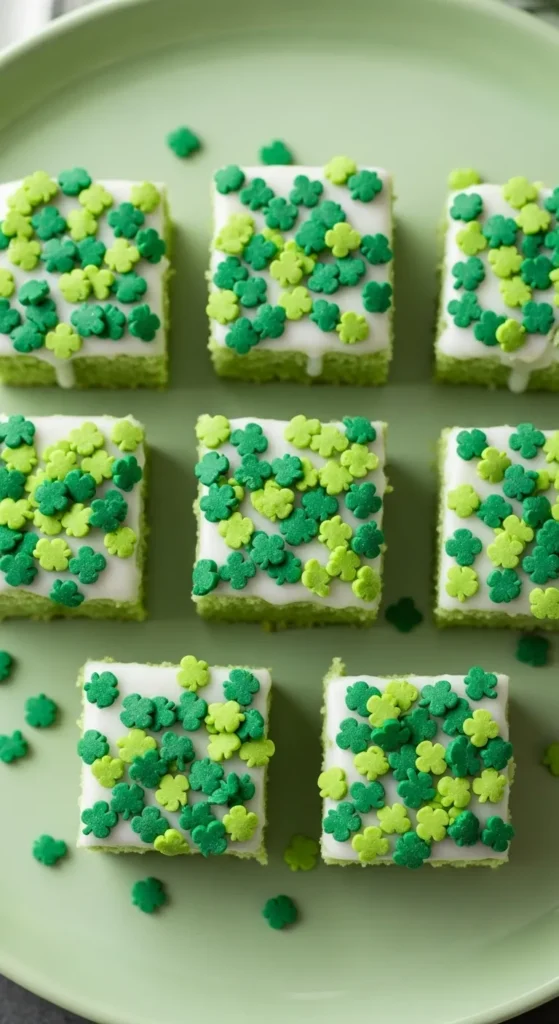
Sprinkles do the work for you. Add green clover sprinkles while treats are warm.
Press gently so they stick.
This is one of the fastest options.
Use store-brand sprinkles to cut costs.
Keep edges clean for a tidy look.
These treats are great for last-minute plans.
They stack well and don’t smudge.
Perfect for classrooms or casual gatherings.
7. Mint Swirl Squares
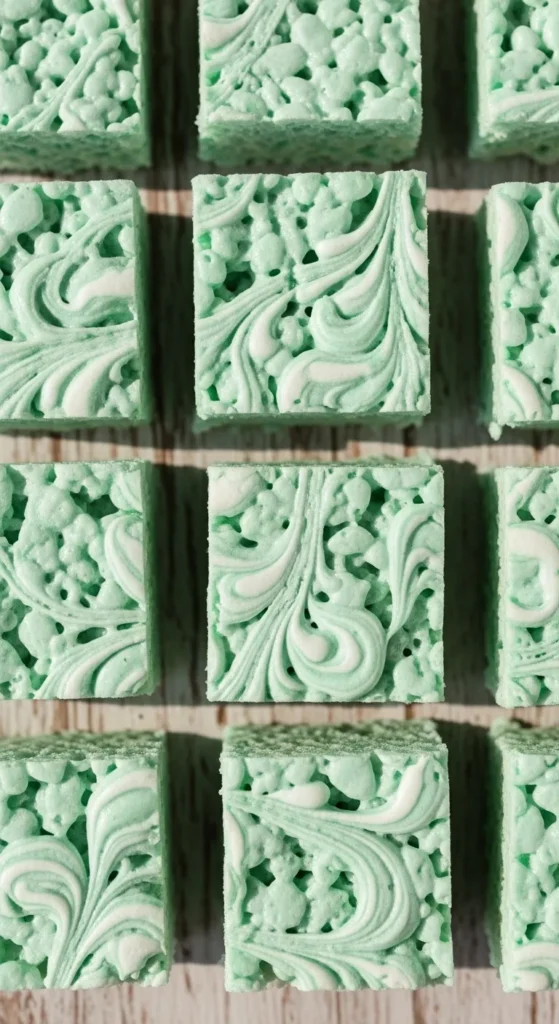
Add a drop of green coloring to part of the melted marshmallow. Swirl gently into the plain mix.
Do not overmix. You want visible streaks.
Press into the pan lightly.
The swirl adds interest without extra toppings.
This keeps costs low and steps simple.
Slice cleanly once cooled.
These treats feel special while staying low effort.
8. Mini Pot of Gold Cups
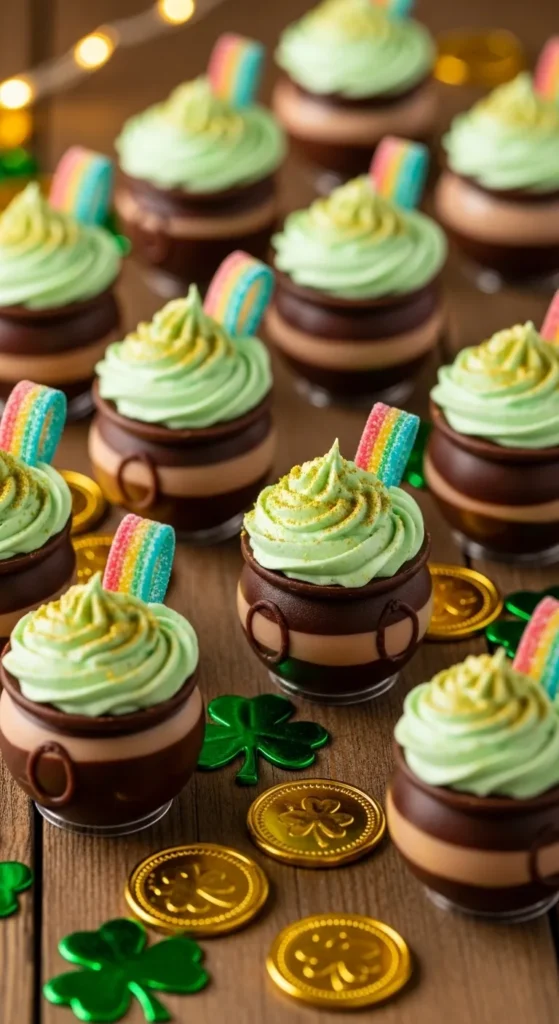
Press treats into green cupcake liners. Add gold candies on top.
The liner acts as both mold and wrapper.
No cutting needed.
This saves time and mess.
They are easy to hand out individually.
Perfect for parties with kids.
The portion size feels just right.
9. Lucky Number Threes
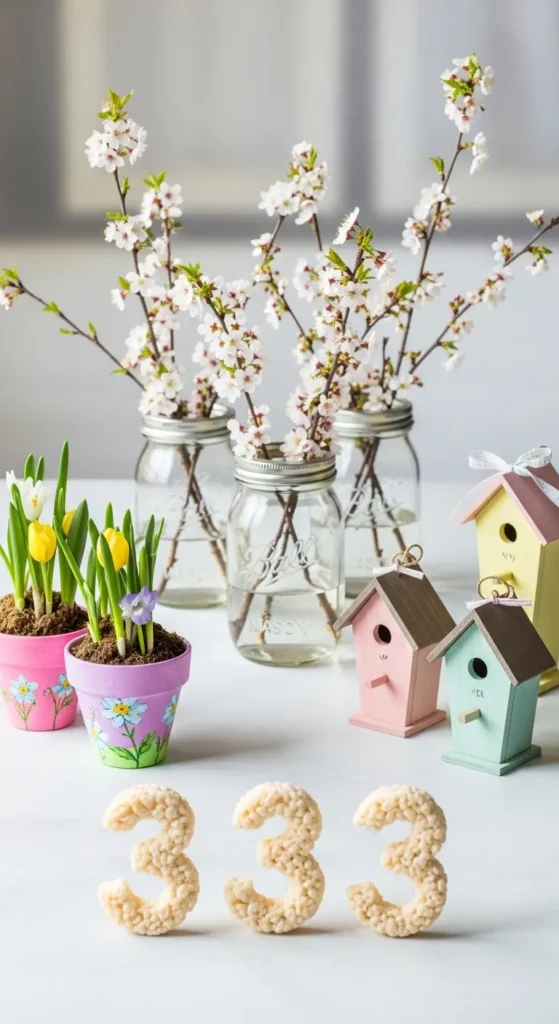
Shape treats into number threes by hand. Keep them small.
Work with lightly greased hands.
This idea feels playful and theme-focused.
No decorations needed.
Great for themed trays or classroom math tie-ins.
Simple shapes keep costs down.
10. Green Marshmallow Chunk Bars
Fold extra green marshmallows into the mix at the end.
They stay visible and soft.
No coating required.
Slice once fully cooled.
This adds color with zero extra steps.
A smart option when short on time.
11. Shamrock Face Treats
Add tiny candy eyes and a smile.
Keep faces simple.
Kids love character treats.
Use toothpicks for placement.
Make a small batch for display.
Mix with plain treats to save time.
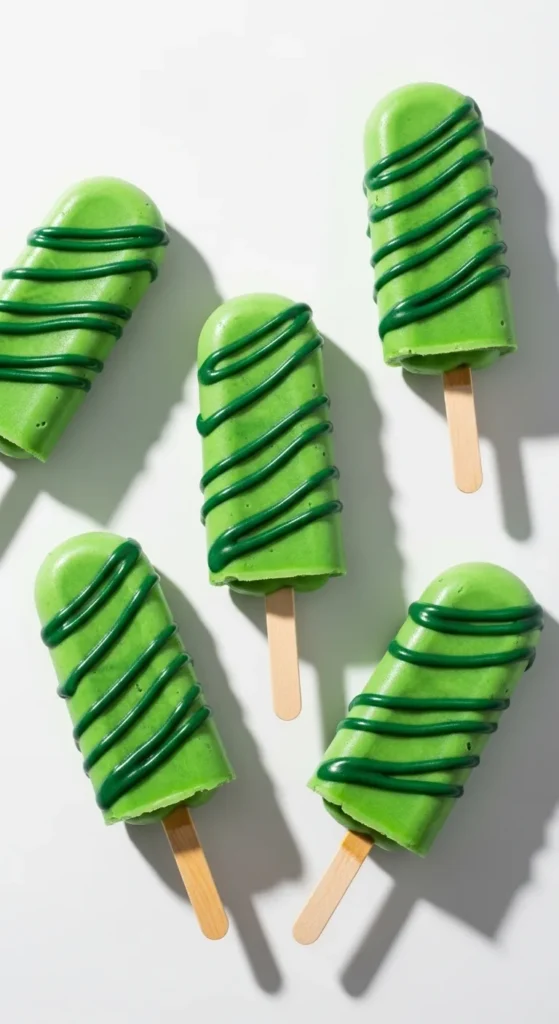
12. Green Drizzle Pops
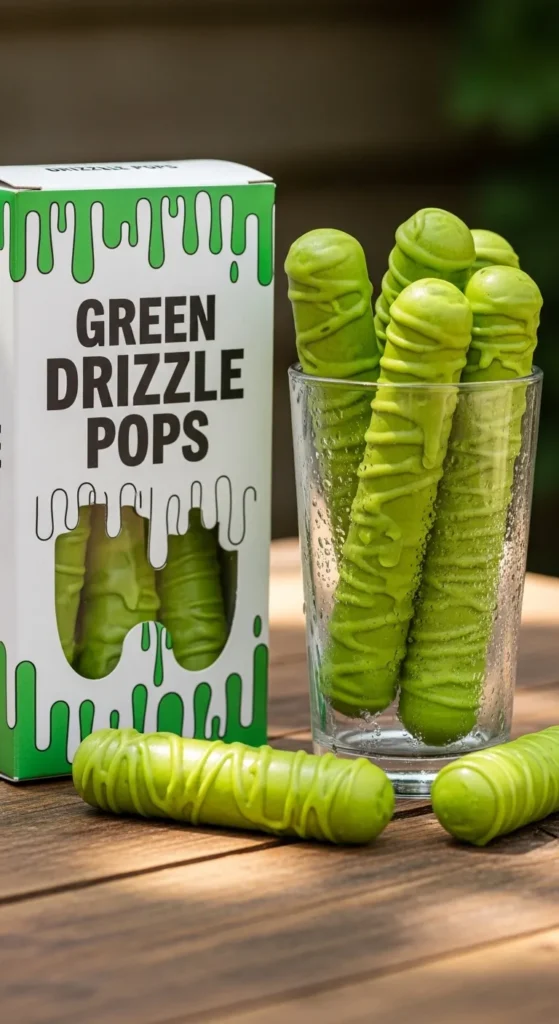
Insert sticks before cooling.
Drizzle with green coating.
Let set upright in cups.
These are easy to grab and go.
Perfect for parties.
Use paper sticks to keep costs low.
13. Lucky Letter Treats

Shape letters by hand or cut slabs.
Focus on simple block shapes.
No decoration needed.
Arrange on a tray for impact.
Great for sharing photos.
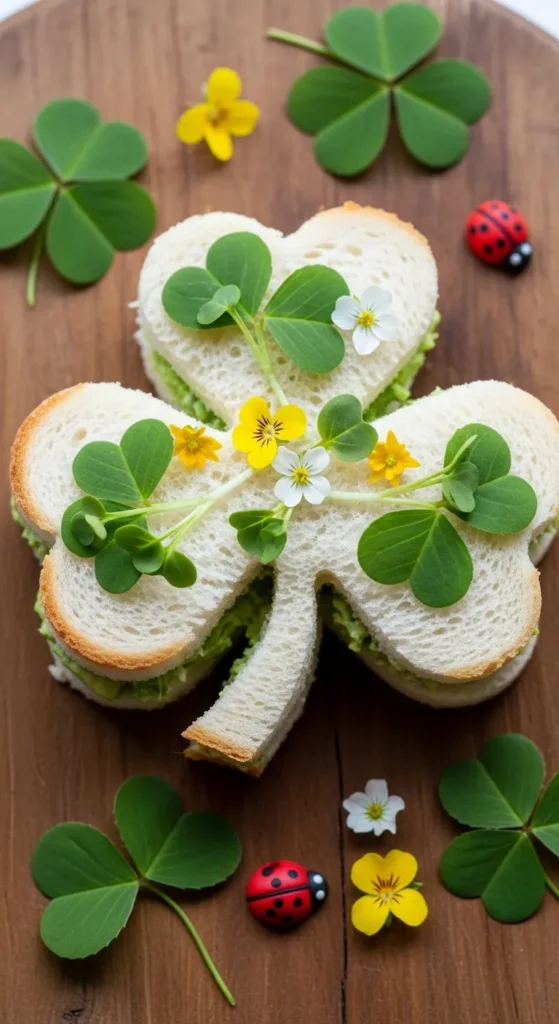
14. Clover Sandwich Treats
Sandwich two shamrocks with coating.
Press gently.
Let set before stacking.
This adds thickness without extra shaping.
Make a small batch for variety.
15. Green Sugar Dusted Bars
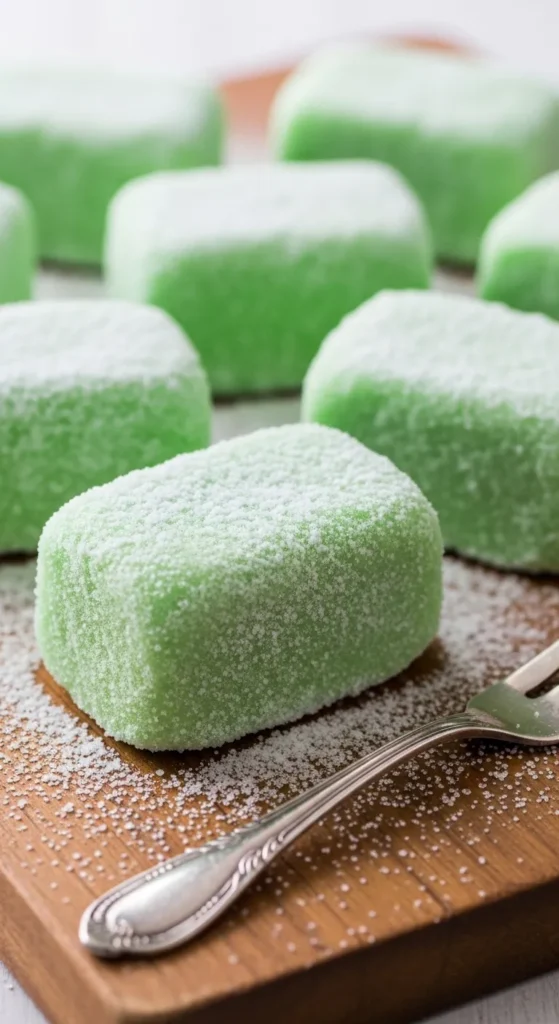
Dust lightly while warm.
Tap off excess.
This adds sparkle with little effort.
No drying time needed.
Budget-friendly and fast.
16. Mini Shamrock Bites
Cut small shamrocks.
Serve in bowls or cups.
Perfect for snacking tables.
Small size stretches one batch further.
Great for large groups.
17. Green Layered Squares
Press two layers separately.
Let first layer cool slightly.
Add second layer gently.
Slice cleanly.
Layers add interest without extra toppings.
18. Clover Corner Bars

Add one small clover candy to each bar.
Keep the rest plain.
This saves time and candy.
The detail still reads festive.
19. Green Sprinkle Edge Treats
Dip edges in coating.
Roll in sprinkles.
Set on parchment.
Edges add color without full coverage.
Easy and tidy.
20. Lucky Charm-Inspired Squares
Mix themed cereal pieces into the base.
Keep balance so treats hold shape.
No toppings required.
This works well for kids’ tables.
Quick and playful.
21. Green Heart Treats
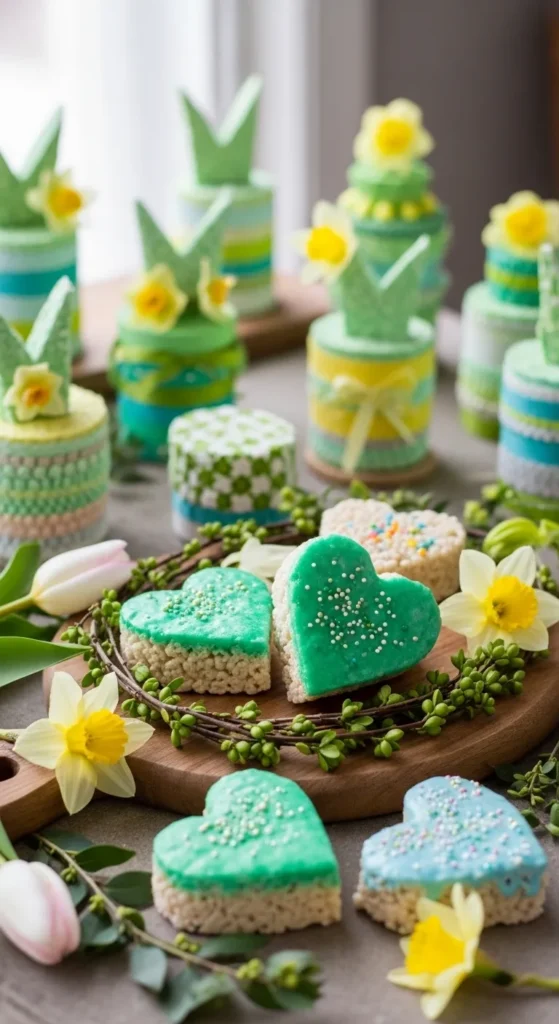
Use heart cutters.
Add light green tint to the mix.
Keep decoration minimal.
These feel sweet and simple.
Great for gifting.
22. Gold Drizzle Squares
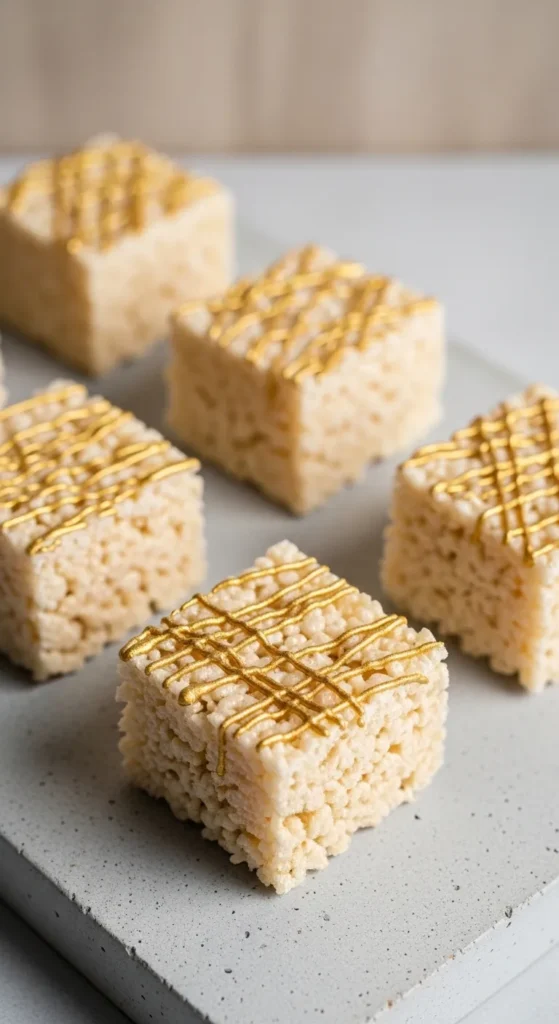
Use gold-toned coating.
Drizzle lightly.
Let set fully.
This pairs well with green trays.
A clean look with little effort.
23. Simple Green Classic Bars
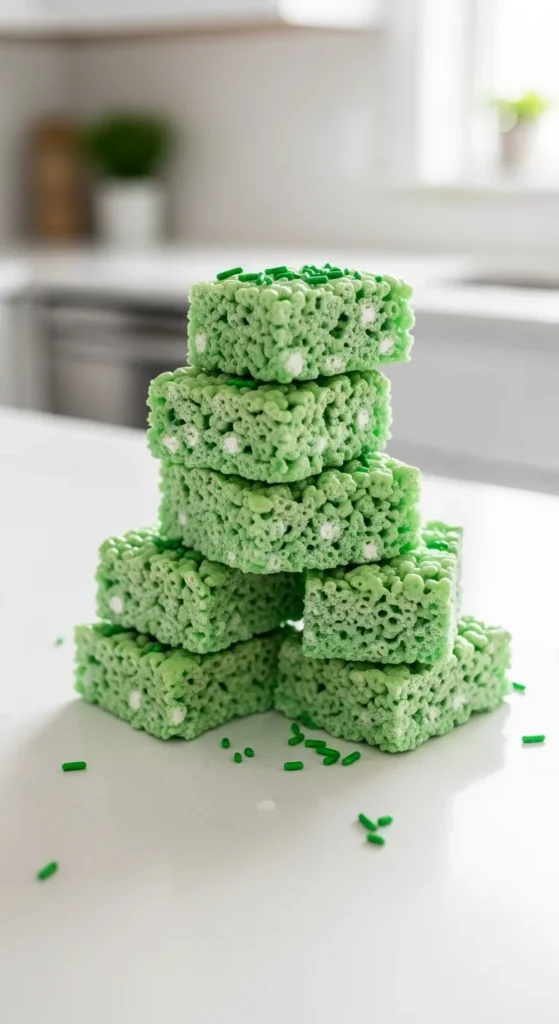
Tint the whole batch green.
Press into a pan.
Slice evenly.
No extras required.
Sometimes simple works best.
These are quick, low-cost, and reliable.
Conclusion
These Rice Krispie treat ideas prove you don’t need complicated steps or pricey supplies to create St Patrick’s Day desserts that feel fun and thoughtful. A little color, a simple shape, or one small detail can completely change the look. Pick one or two styles, mix them on a tray, and you have a spread that feels planned without stress. Grab what you already have, keep the steps easy, and enjoy making treats that people actually want to grab and eat.

Leave a Reply