
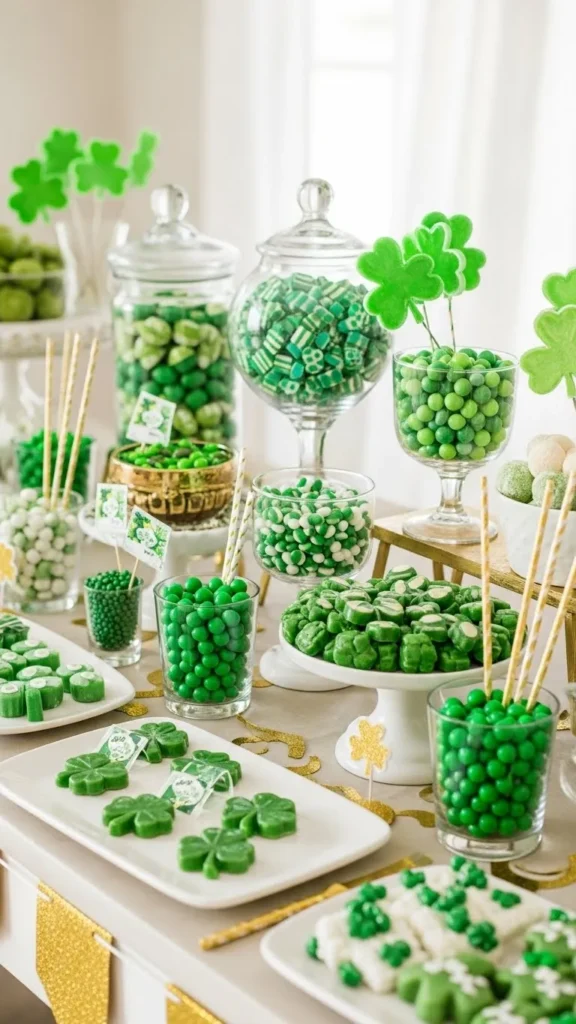
St Patrick’s Day is the kind of holiday where candy does most of the talking. Color matters. Shapes matter. And simple ideas often bring the biggest smiles. This list focuses on easy, affordable candy ideas that work for parties, classrooms, family nights, or themed gift bags. Every idea can be made with store-bought sweets, basic tools, and a little creativity. No complicated steps. No specialty supplies. Just fun, festive candy setups that fit real-life schedules and budgets.
1. Lucky Coin Chocolate Packs

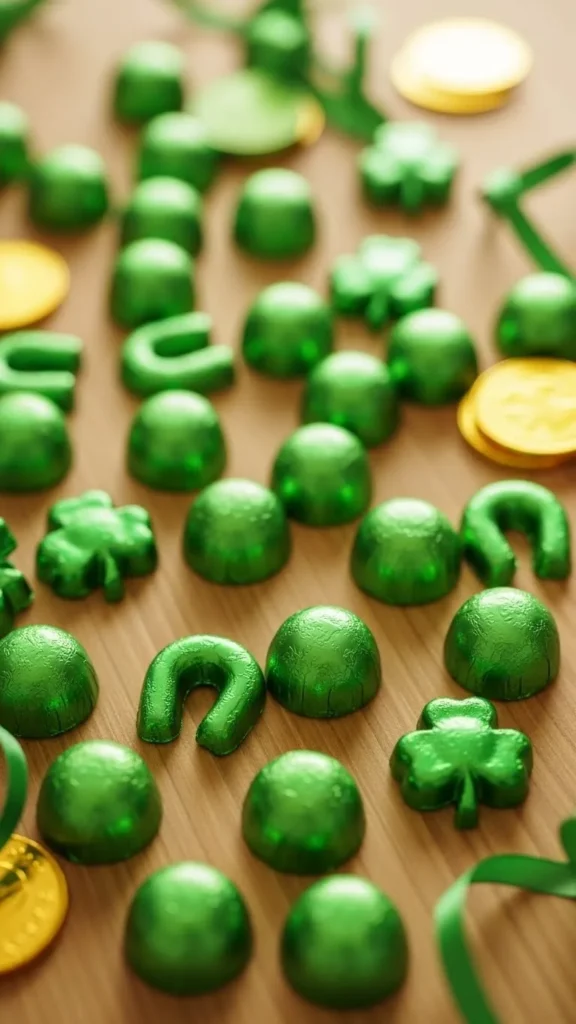
Gold chocolate coins instantly signal St Patrick’s Day. You can find them in bulk at discount stores or online. Sort them into small clear bags or paper cones. Tie each bundle with green ribbon or twine.
This idea works well for classrooms or party favors. Kids recognize the coins right away. Adults enjoy the nostalgia.
For a budget-friendly option, mix chocolate coins with green foil-wrapped candies. This stretches the supply without losing the theme.
Try stacking coins inside small cups or cupcake liners for easy table display.
If you want a DIY touch, punch a shamrock tag from green cardstock and tie it on.
These packs store well and travel easily.
They also work as table scatter if you skip the bags and spread them across serving trays.
Simple. Affordable. Festive.
2. Green Candy Skewers
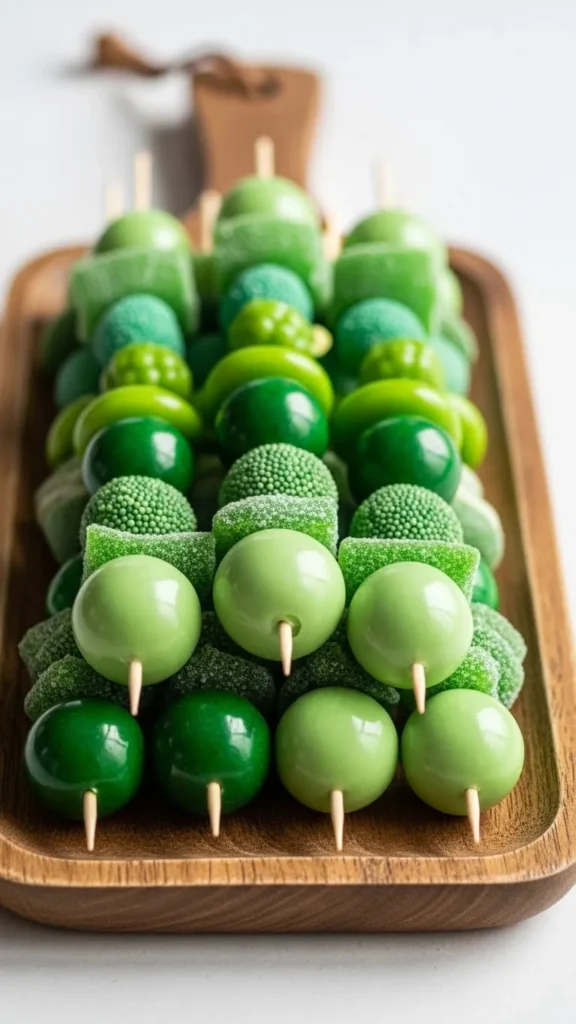
Candy skewers look impressive but take very little effort. Use wooden sticks and thread green gummies, wrapped chocolates, or marshmallow candies.
Keep shapes varied for visual interest. Round candies, flat pieces, and soft gummies work well together.
This idea helps control portions while still feeling generous.
For parties, stand skewers upright in a foam block hidden inside a container.
On a budget, use fewer candy pieces per stick and space them out.
You can also prep these the night before and store them in sealed containers.
Kids enjoy choosing their own skewer.
This setup works for dessert tables, gift bags, or party centerpieces.
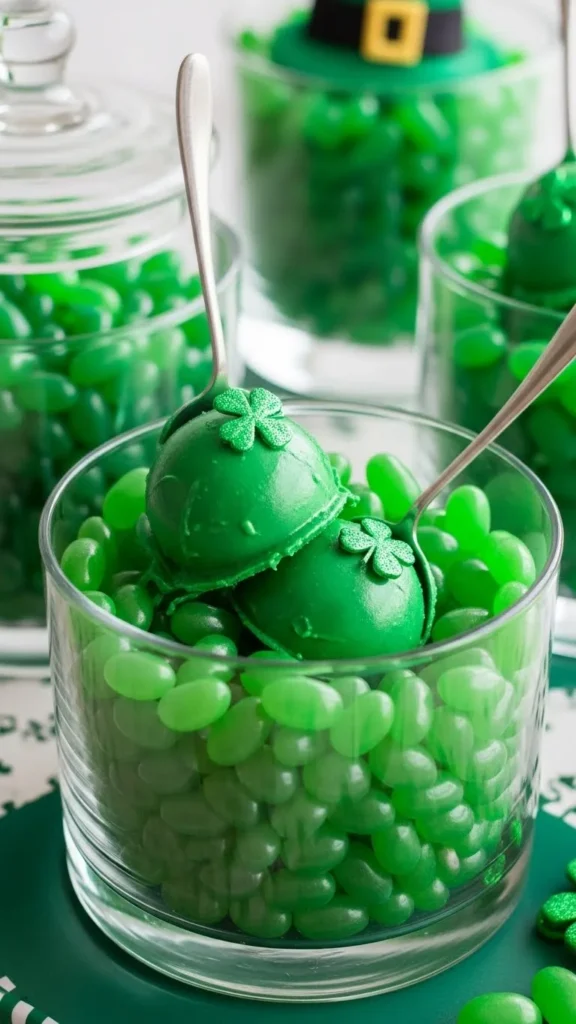
3. Shamrock Gummy Cups
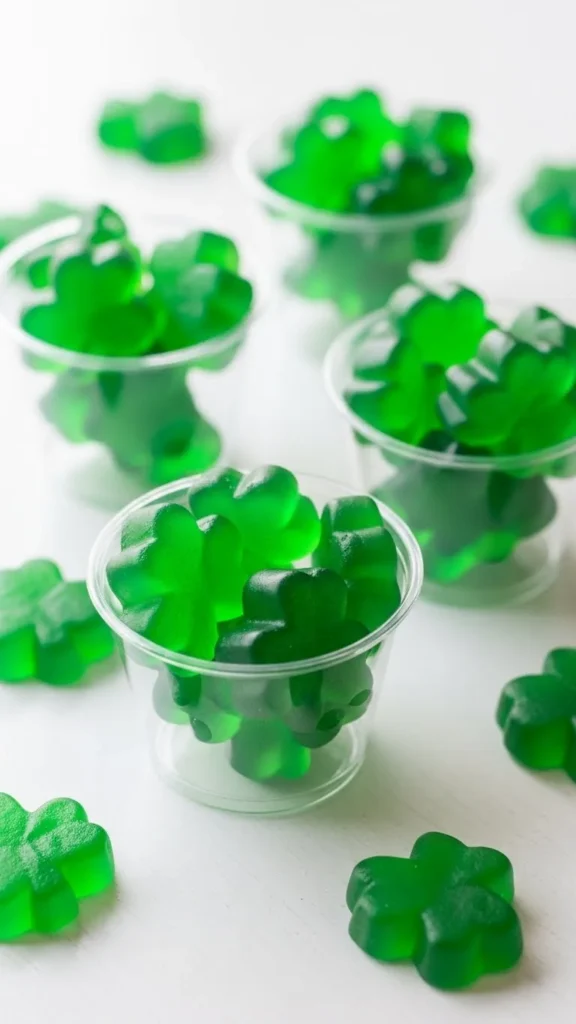
Fill clear cups with shamrock-shaped gummies or green gummy mixes. The clear container shows off color without extra decoration.
Use small cups for portion control.
If shamrock shapes are hard to find, mix green bears, rings, and worms together.
This idea works well for classrooms because it’s quick to assemble.
Add a green spoon or paper straw for fun.
For a DIY option, cut shamrock shapes from green cardstock and tape them to the cup.
Stack cups on a tray to save space.
This candy option feels cheerful without being messy or complicated.
4. Rainbow Candy Bags
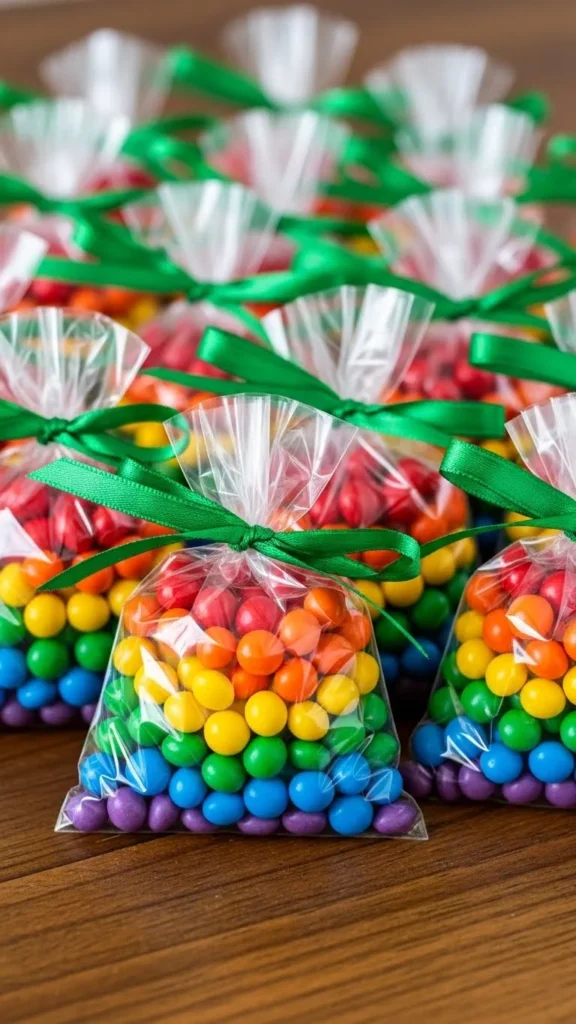
Rainbow candy bags tie directly into the holiday theme. Use small candies sorted by color. Arrange them in rainbow order inside clear bags.
End the rainbow with a few gold chocolate coins.
This looks thoughtful but uses basic supplies.
If sorting feels time-consuming, let kids help.
Use twist ties or ribbon to seal bags quickly.
This idea works well for party favors and school treats.
It also scales easily for large groups.
Color does most of the work here.
5. Mint Chocolate Button Mix
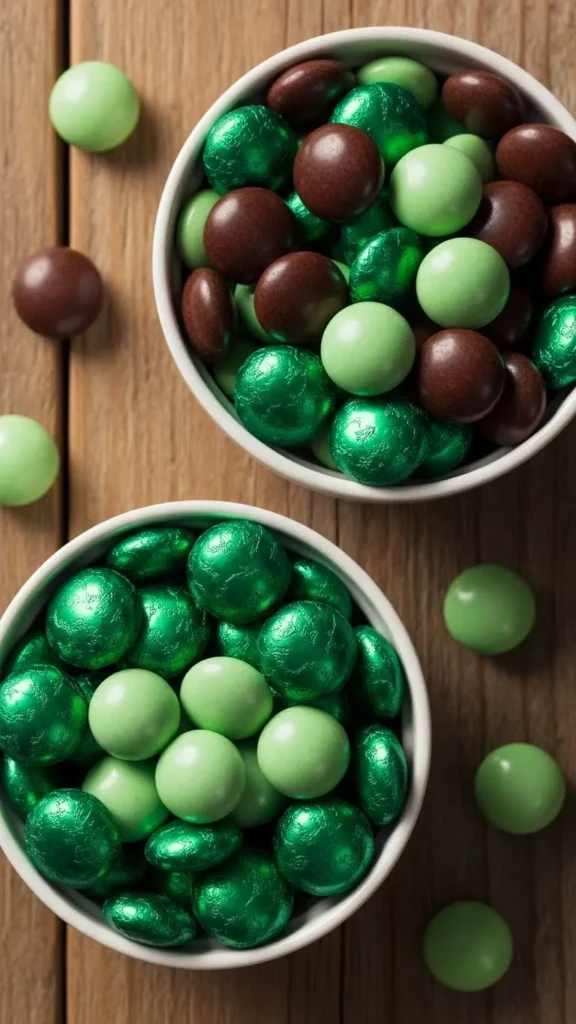
Mix green foil-wrapped chocolates with plain chocolate buttons. The contrast looks intentional without extra effort.
Serve in clear bowls or jars.
This option is easy to refill throughout the day.
For gifting, scoop into small bags or jars.
To keep costs down, use more buttons than wrapped pieces.
This mix works well for adults and kids alike.
It also pairs nicely with other candy displays without overpowering them.
6. Leprechaun Hat Candy Cups
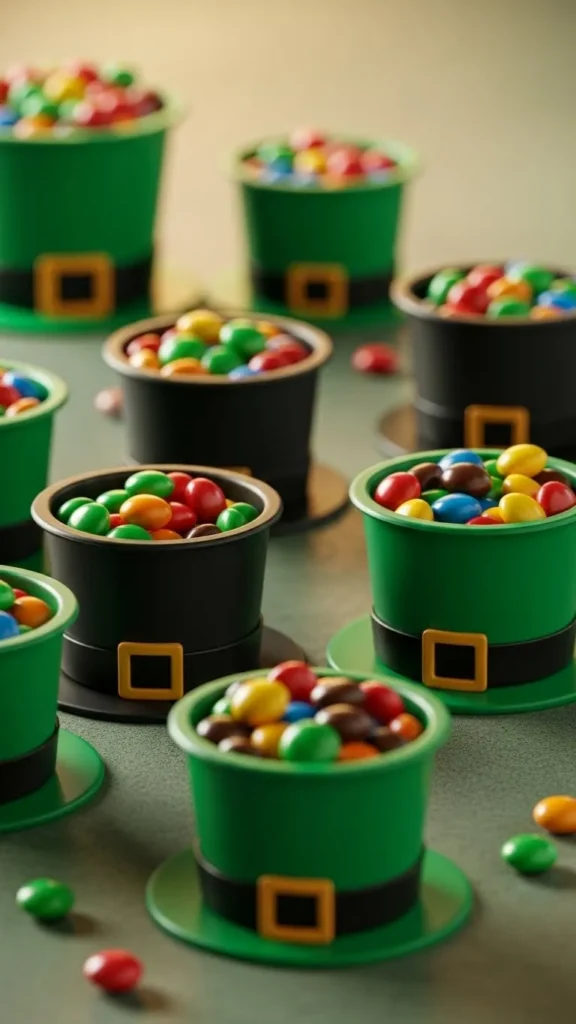
Use black paper cups as the base. Add a green paper band and a gold sticker buckle.
Fill cups with wrapped candies.
This craft uses basic materials and takes minutes to assemble.
Kids enjoy the character theme.
For savings, skip stickers and draw buckles with a gold marker.
These cups double as decorations and treats.
Line them up on tables or place one at each seat.
7. Green Jelly Bean Scoops
Jelly beans are affordable and widely available. Choose green-only mixes for a clean look.
Use small scoops so guests can serve themselves.
This works well for open-house style gatherings.
To manage portions, offer small cups nearby.
You can mix shades of green for depth.
This setup takes almost no prep time.
It’s also easy to clean up.
8. Candy-Filled Gold Cups
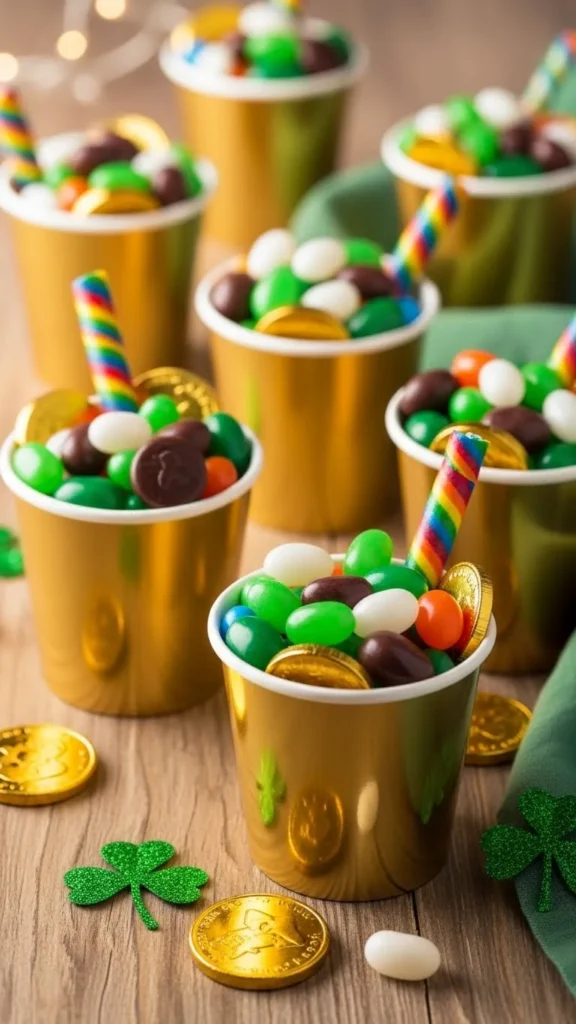
Gold paper cups instantly feel festive. Fill them with green and chocolate candies.
Arrange cups in clusters for visual impact.
This idea works well when table space is limited.
For budget control, fill cups halfway and fluff with tissue paper underneath.
These cups can be reused for other holidays too.
Simple swaps keep costs low.
9. Sour Green Candy Mix
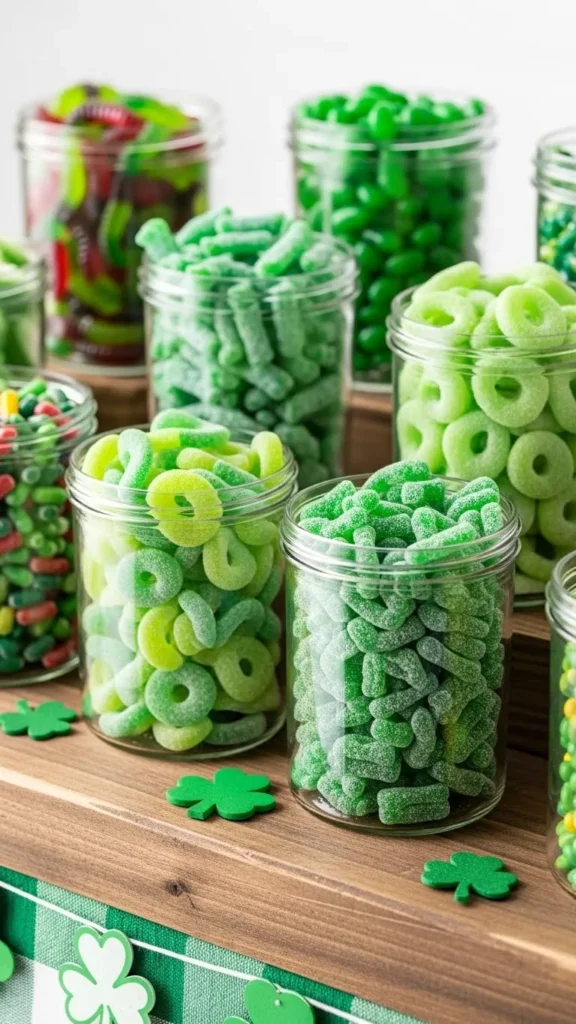
Combine sour green candies in one jar. The unified color keeps it themed.
Labeling isn’t required if placed among other holiday treats.
This option balances sweeter candies on the table.
Use small jars to avoid overfilling.
Sour candy often goes further since guests take less at once.
It’s a smart choice for variety.
10. Chocolate Pretzel Coins
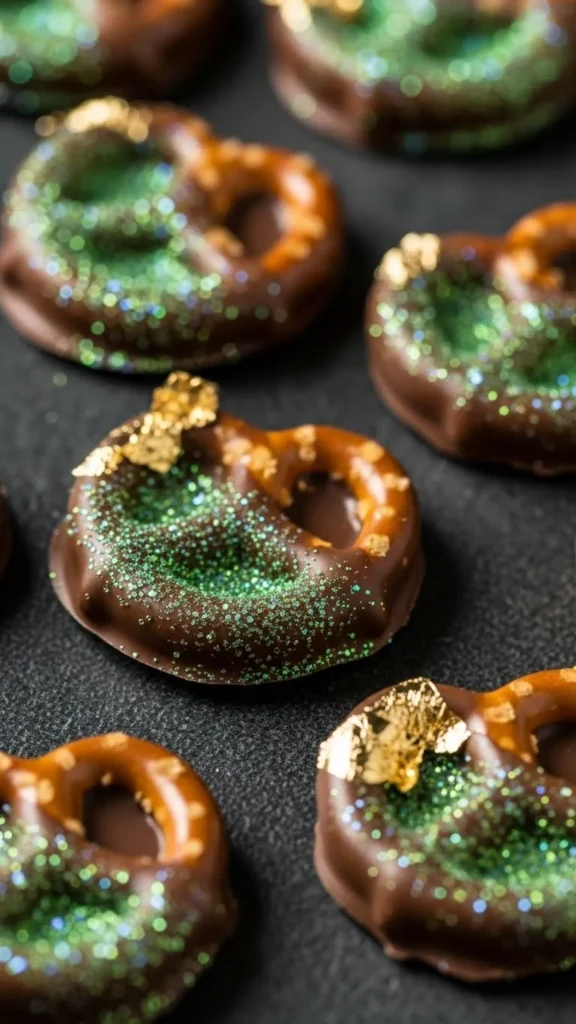
Dip mini pretzels in melted chocolate and press a gold candy coin on top.
Let them set on parchment paper.
This DIY idea feels special without complex steps.
Use store-brand chocolate to save money.
These treats store well and travel easily.
They work as gifts or table snacks.
11. Green Marshmallow Clusters
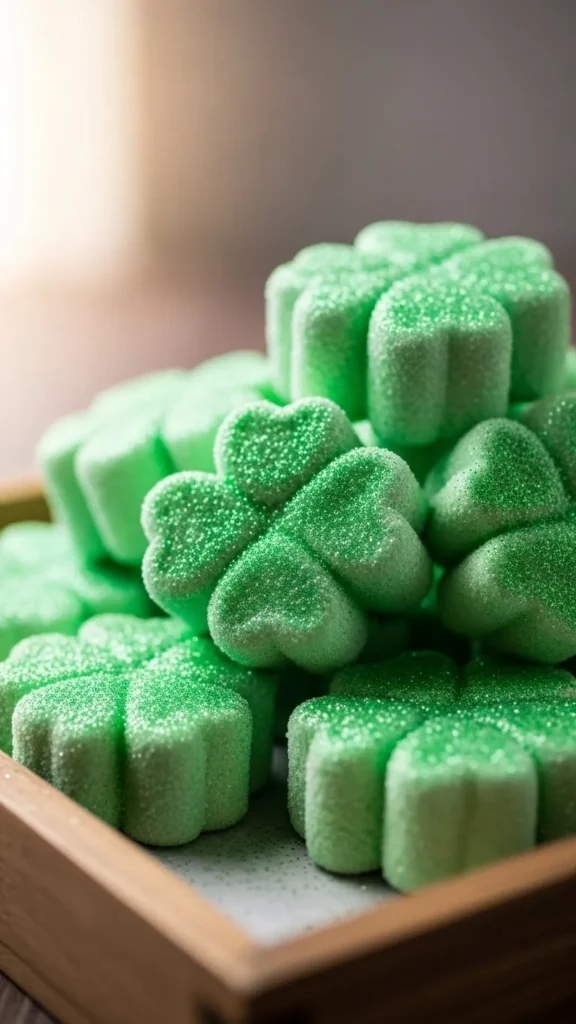
Mix green marshmallows with chocolate pieces. Press into clusters and let them set.
No baking required.
Use fewer chocolate pieces to stretch the mix.
Cut clusters into small portions.
This idea works well for family activities.
It’s easy to customize with different candy types.
12. Candy Rainbow Cups
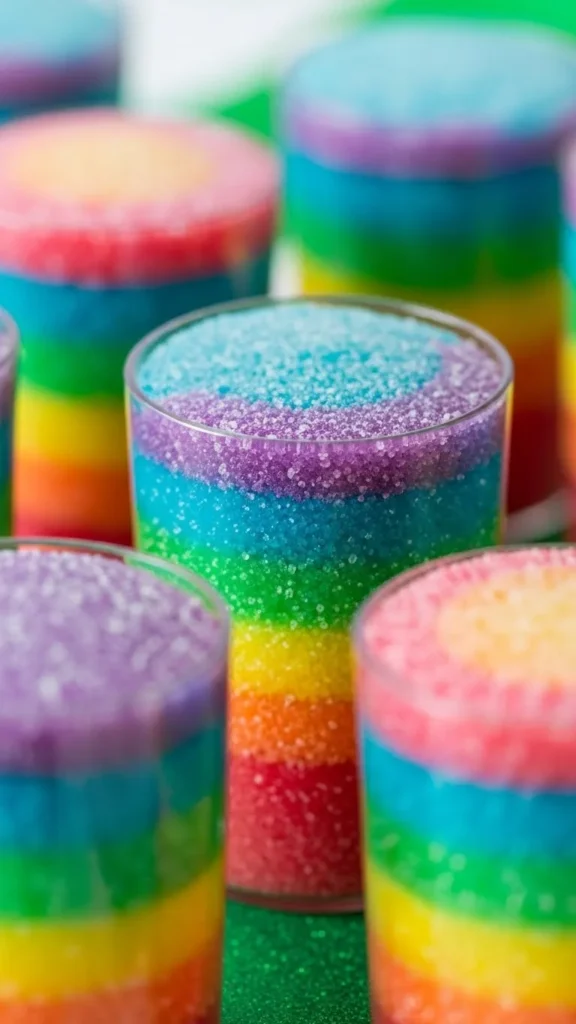
Layer candies by color in clear cups.
Start with purple and end with gold.
This looks organized and festive.
Use inexpensive candies for most layers.
Small cups keep costs manageable.
This works well for party tables and favors.
13. Mint Cream Chocolate Squares
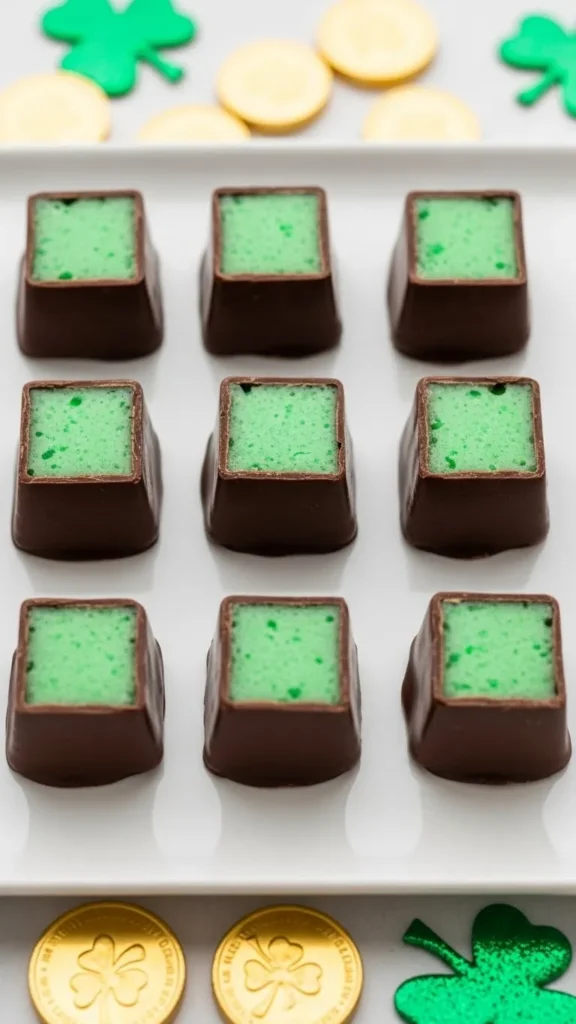
Break mint-filled chocolate bars into squares.
Arrange them on trays or wrap individually.
This option feels classic and simple.
Use store sales to stock up.
It pairs well with other candy textures.
Minimal prep makes this a reliable choice.
14. Green Candy Bark Pieces
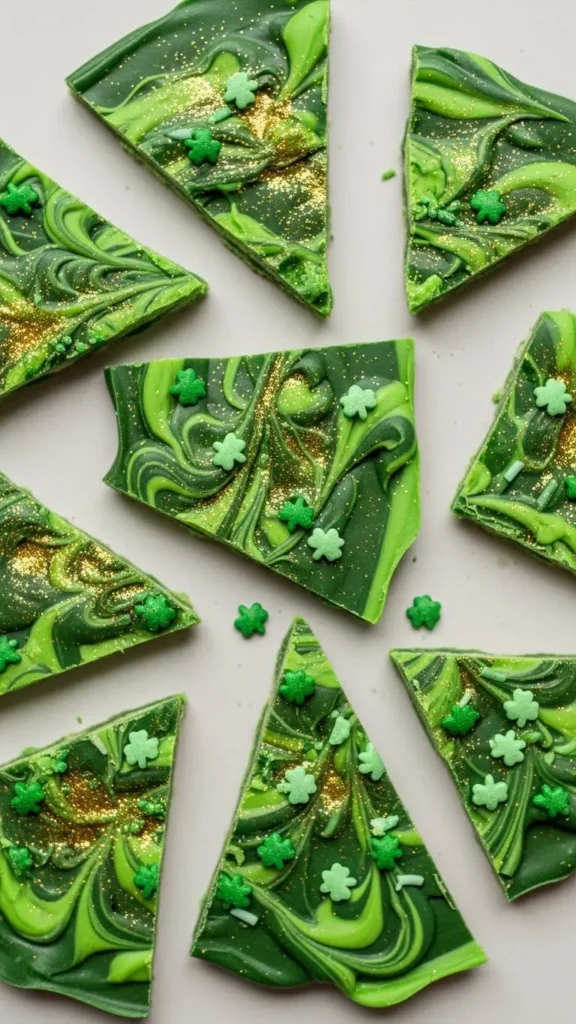
Melt white chocolate and tint it green. Add candies and let it set.
Break into pieces by hand.
This DIY project uses basic tools.
Use a thin layer to save ingredients.
Package pieces in small bags for gifting.
Each piece looks different, which adds charm.
15. Chocolate Clover Shapes
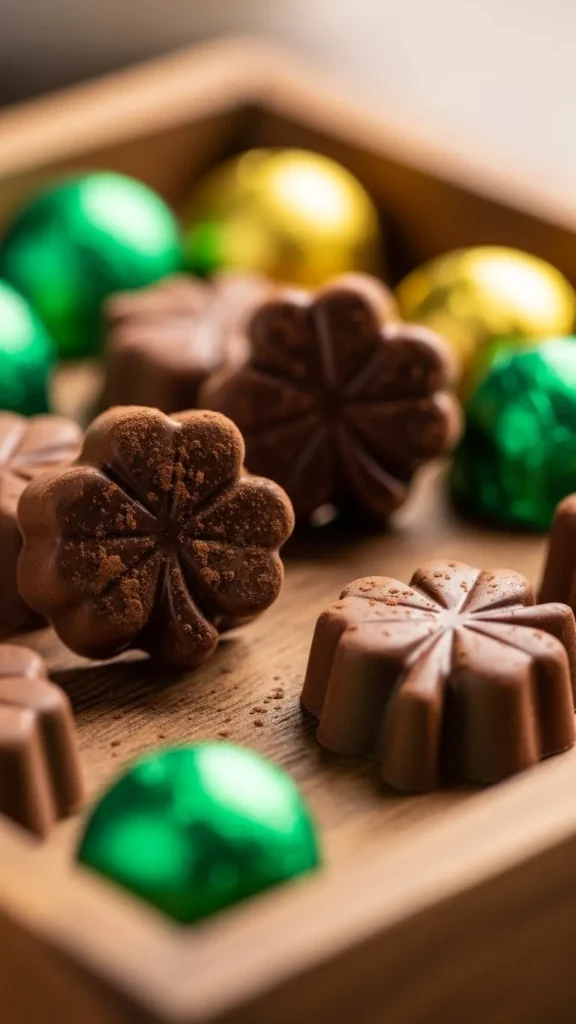
Use clover molds or cookie cutters.
Pour melted chocolate and let it set.
This works well for themed parties.
Reuse molds for future events.
Simple shapes keep costs low.
Kids enjoy helping with this task.
16. Green Candy Popcorn Mix
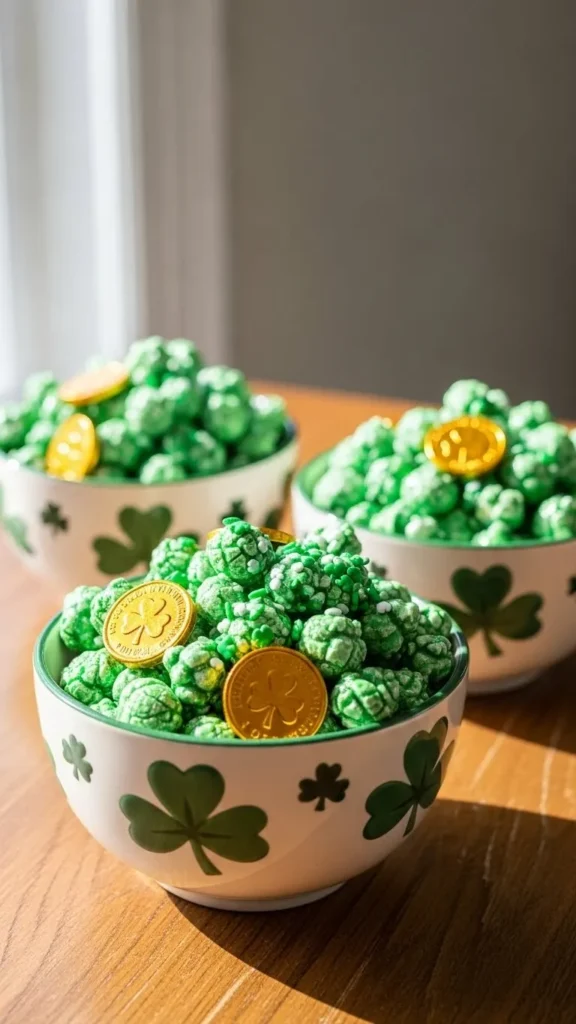
Mix popped popcorn with green candies and chocolate pieces.
This stretches candy portions significantly.
Serve in large bowls or bags.
Use plain popcorn to control sweetness.
This idea works well for movie nights and parties.
17. Gold-Wrapped Truffle Piles
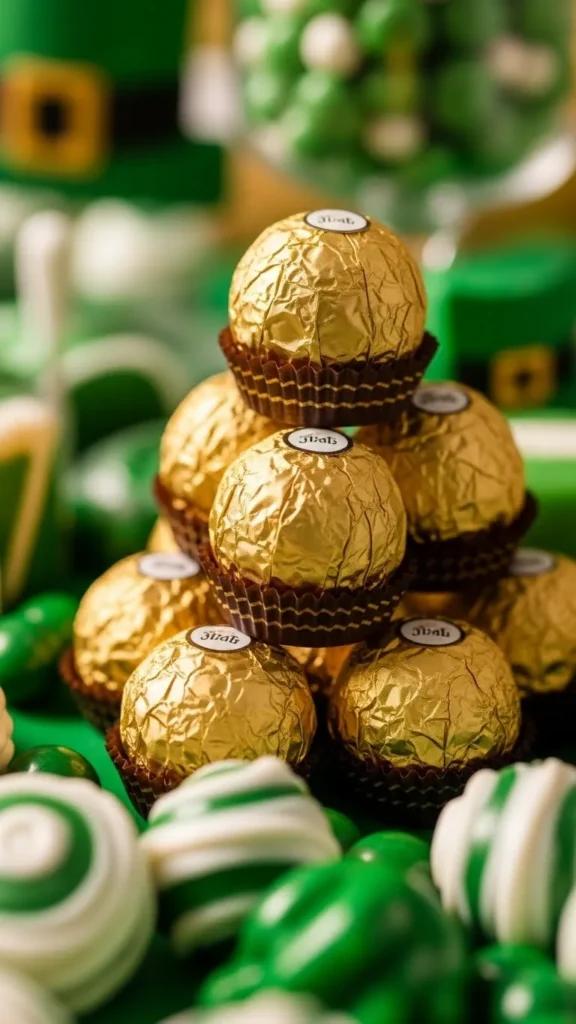
Stack gold-wrapped truffles in small piles.
The color carries the theme on its own.
No extra decor required.
Use fewer pieces for a clean look.
This works well for adult gatherings.
18. Mint Candy Grab Bags
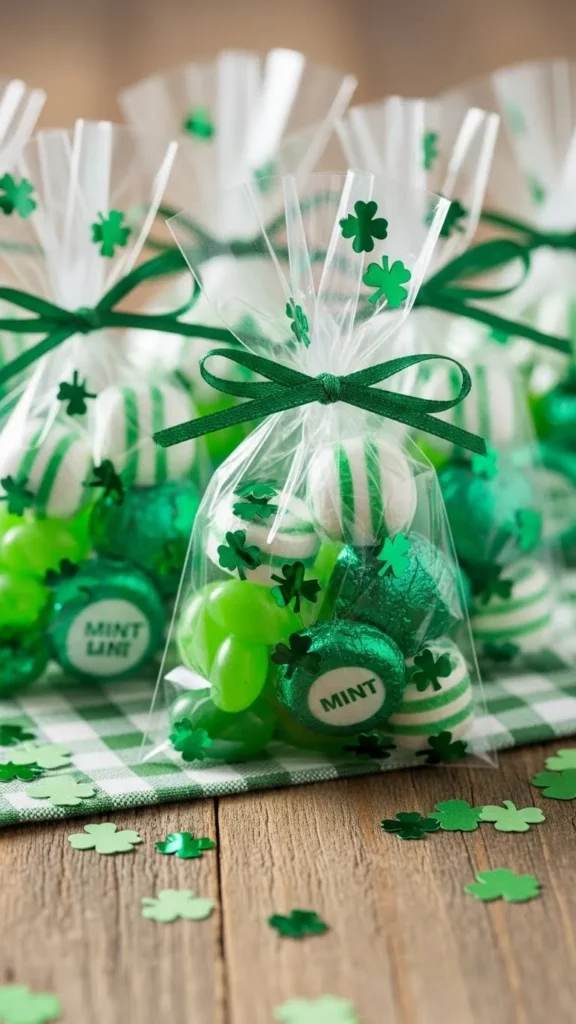
Fill bags with mint-flavored candies.
Keep portions small.
Tie with green ribbon for quick assembly.
This idea is low effort and easy to scale.
Great for school or office settings.
19. Shamrock Chocolate Lollipops

Use shamrock molds and insert sticks before setting.
Wrap once hardened.
These feel special without added cost.
They store well and look neat in displays.
Perfect for party favors.
20. Green Foil Candy Scatter
Scatter green foil candies across tables.
This fills space without extra decor.
Guests can snack as they mingle.
Use small quantities to control costs.
Simple setups often work best.
21. Chocolate-Dipped Candy Sticks
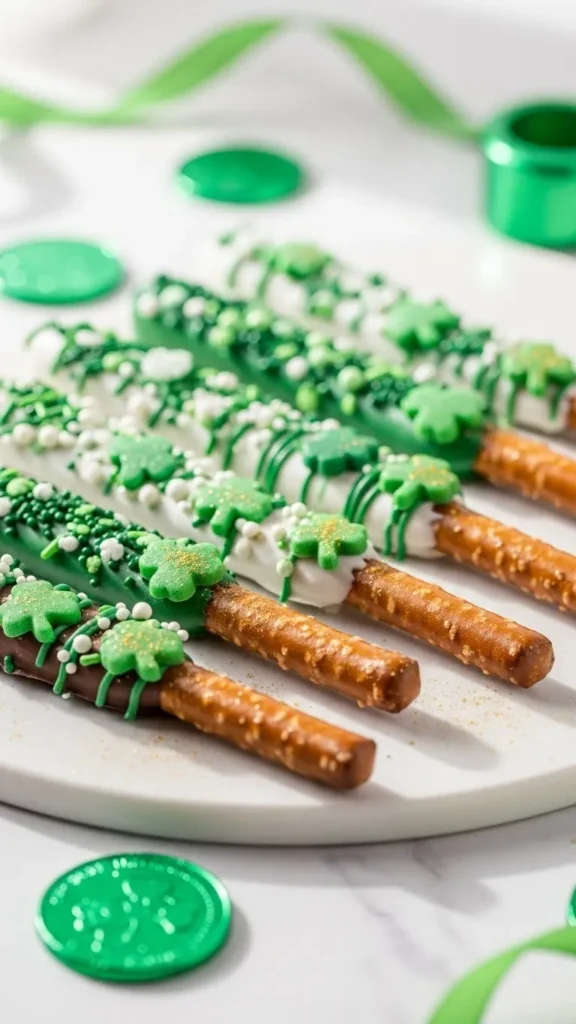
Dip candy sticks in melted chocolate and add green sprinkles.
Let them set on parchment.
This DIY option feels hands-on and fun.
Use store-brand candy sticks to save money.
They travel well and look tidy.
22. Lucky Candy Gift Jars
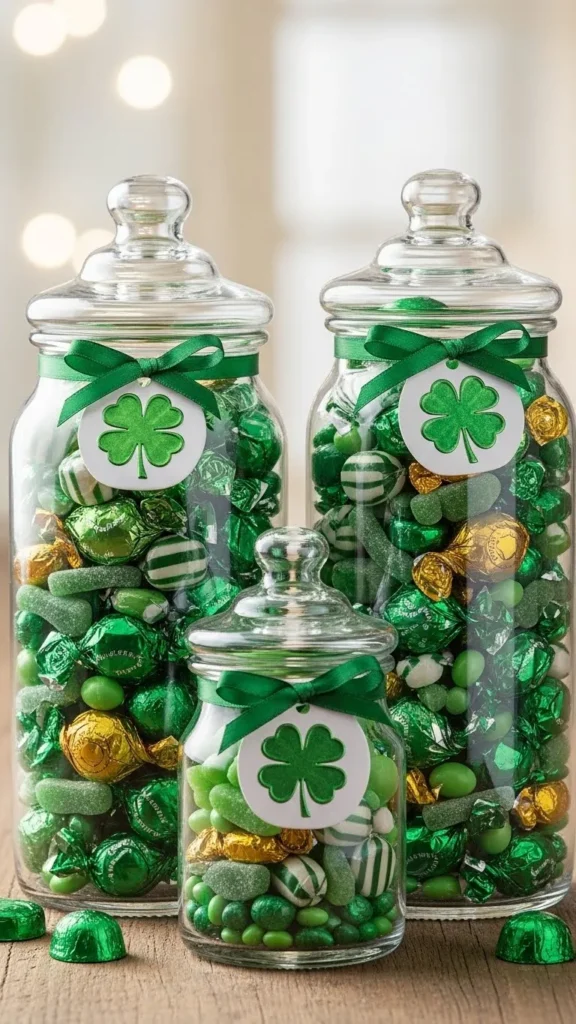
Fill small jars with green and gold candies.
Layer colors for visual interest.
Jars can be reused later.
This idea works well for teachers, neighbors, or friends.
Use jars you already have to cut costs.
Conclusion
St Patrick’s Day candy does not require complicated plans or big spending. With the right colors, simple packaging, and easy assembly, everyday sweets turn into themed treats that feel thoughtful and fun. These ideas work for parties, classrooms, and family celebrations alike. Pick a few that match your time and budget, mix store-bought candy with small DIY touches, and let the holiday spirit show through simple details.

Leave a Reply