

There’s something irresistible about that first bite of perfectly crispy chicken thighs—golden skin that cracks slightly under your fork, followed by juicy, tender meat inside. It’s the kind of texture you usually only get at restaurants… until now. The good news? You can recreate that same crunch right in your own kitchen with just a few smart techniques.
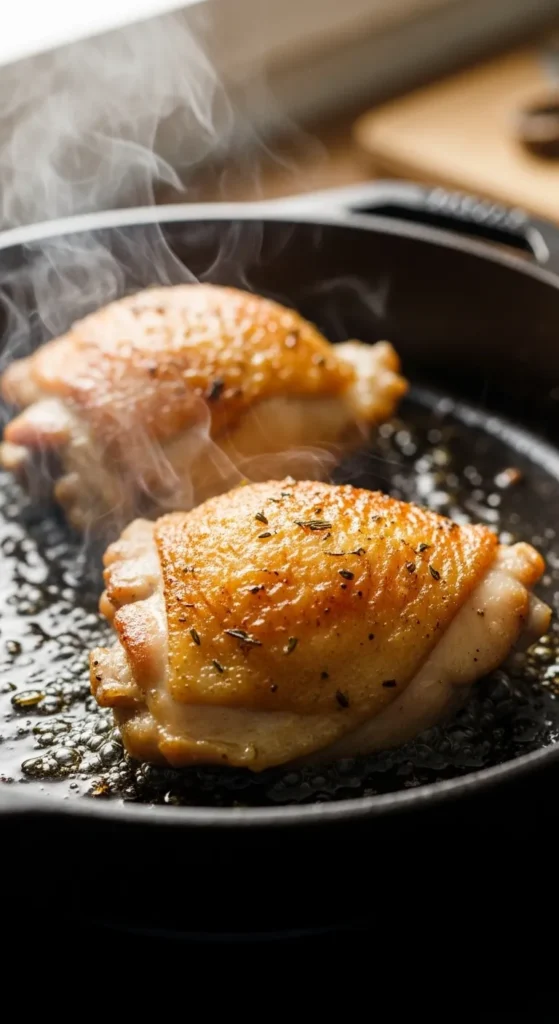
If you’ve ever wondered why your homemade chicken never gets quite as crispy as the restaurant version, the secret isn’t fancy equipment—it’s all in the preparation, heat control, and a few simple tricks that make all the difference.
Why Restaurant Chicken Skin Gets So Crispy
Restaurants don’t rely on luck—they rely on technique. That ultra-crispy skin comes from three key factors:
- Dry skin before cooking (moisture is the enemy of crispiness)
- Proper seasoning and salt timing
- Consistent high heat to render fat slowly
Chicken thighs are naturally perfect for this because they contain a bit more fat, which helps the skin crisp up beautifully while keeping the meat juicy.
Once you understand this balance, you’re already halfway there.
Ingredients You Need for Crispy Chicken Thighs
The beauty of this recipe is how simple it is. You don’t need anything complicated—just the right basics.
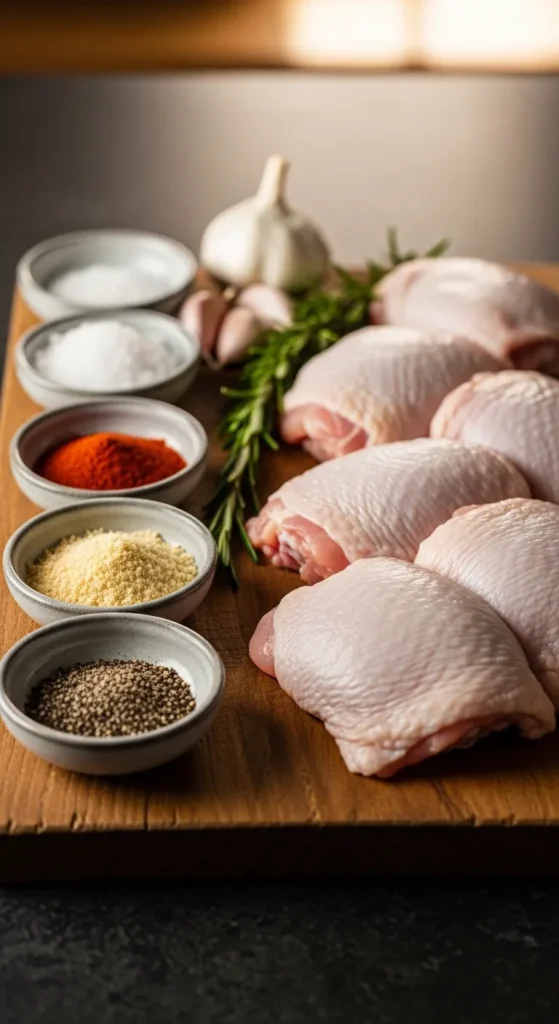
- 4–6 bone-in, skin-on chicken thighs
- 1–2 tsp salt (adjust to taste)
- 1 tsp black pepper
- 1 tsp garlic powder
- 1 tsp paprika (optional for color and flavor)
- 1 tbsp oil (optional, depending on pan type)
That’s it. No fancy marinades required if you’re going for maximum crispiness.
Step-by-Step: Cooking Crispy Chicken Thighs Perfectly
Getting that restaurant-style crust is all about method. Follow these steps closely:
1. Dry the Chicken Thoroughly
Pat the chicken thighs dry using paper towels. The drier the skin, the better the crisp. For best results, leave them uncovered in the fridge for 1–2 hours (or overnight if possible).
2. Season Generously
Rub salt, pepper, and spices evenly over both sides. Make sure to lift the skin slightly and season underneath for deeper flavor.
3. Start in a Cold Pan (Secret Trick!)
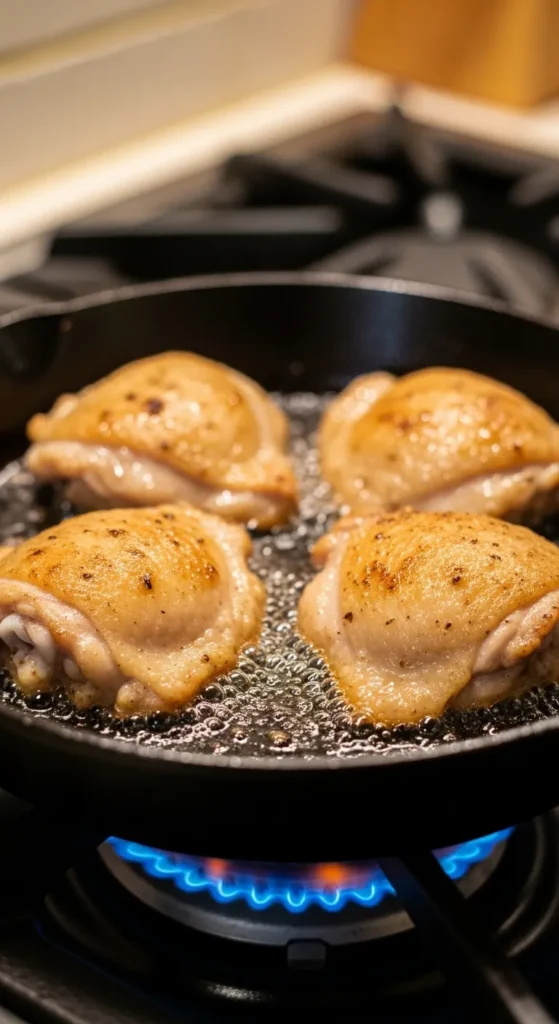
Place the chicken thighs skin-side down in a cold pan. Then turn on medium heat. This slowly renders the fat, creating a perfectly crisp skin without burning.
4. Don’t Rush the Flip
Let the chicken cook undisturbed for 12–15 minutes until the skin turns deep golden brown. Flip and cook the other side for another 10–12 minutes until fully cooked.
Pro Tips for Ultra Crispy Skin
If you want that next-level crunch that feels like a restaurant dish, these small adjustments make a huge difference:
- Use a cast iron skillet for even heat distribution
- Avoid overcrowding the pan so steam doesn’t soften the skin
- Press lightly at the beginning to ensure full skin contact with the pan
- Finish in the oven (optional) at 200°C for 5–10 minutes for extra crispness
Also, resist the urge to move the chicken too soon. Letting it sit undisturbed is what builds that golden crust.
Serving Ideas for a Full Restaurant Experience
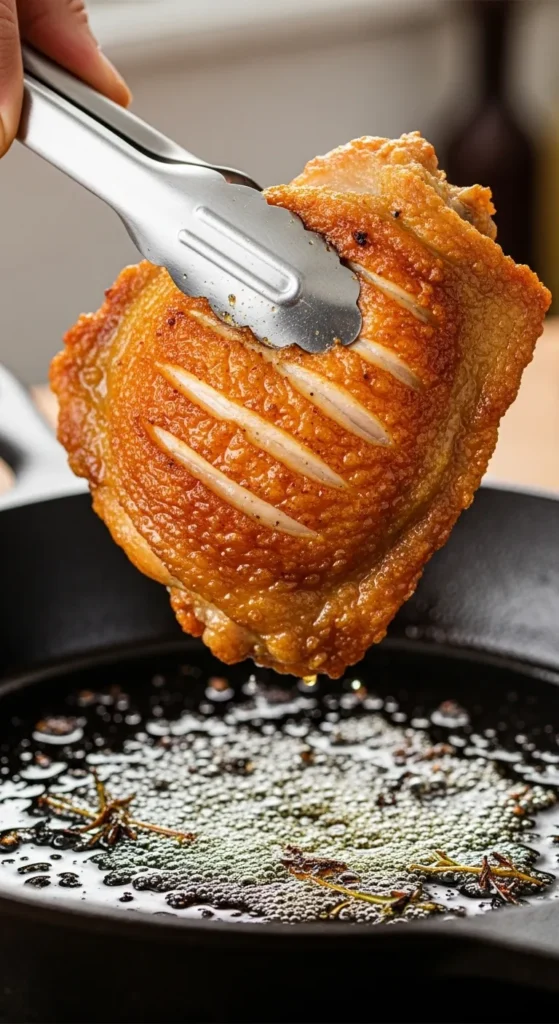
Once your chicken thighs are crispy and golden, it’s time to serve them like a pro. The contrast of textures and flavors is what makes it feel special.
Try pairing with:
- Creamy mashed potatoes or buttery rice
- Fresh green salad with lemon dressing
- Roasted vegetables like carrots or broccoli
- Garlic butter sauce or spicy honey drizzle
You can even slice the chicken and serve it over rice bowls or pasta for a complete meal.

Final Thoughts
Making crispy chicken thighs with restaurant-style texture at home isn’t about complicated recipes—it’s about technique, patience, and letting the heat do its job. Once you master the dry skin method and slow rendering process, you’ll never look at chicken the same way again.
It’s simple, satisfying, and honestly addictive.
Save this recipe for later, because once you try it, it’s going to become a regular favorite on your table.

Leave a Reply