

There’s something incredibly satisfying about pulling perfectly baked chicken thighs out of the oven—crispy golden skin on the outside, juicy and tender meat on the inside, and that mouthwatering aroma filling your kitchen. It’s the kind of meal that feels both comforting and impressive without requiring hours of effort.
If you’ve ever struggled with dry chicken or soggy skin, don’t worry—you’re about to learn the foolproof method for oven-baked chicken thighs that come out perfect every single time.

Why Chicken Thighs Are Perfect for the Oven
Chicken thighs are naturally more flavorful and forgiving than chicken breasts. Thanks to their higher fat content, they stay juicy even at high heat. That makes them ideal for roasting.
Here’s why you’ll love them:
- They stay tender even if slightly overcooked
- They develop ultra-crispy skin when baked properly
- They’re budget-friendly and easy to season
- They work with almost any flavor profile (garlic, lemon, BBQ, spices)
The oven does most of the work—you just need the right technique.
Ingredients You’ll Need
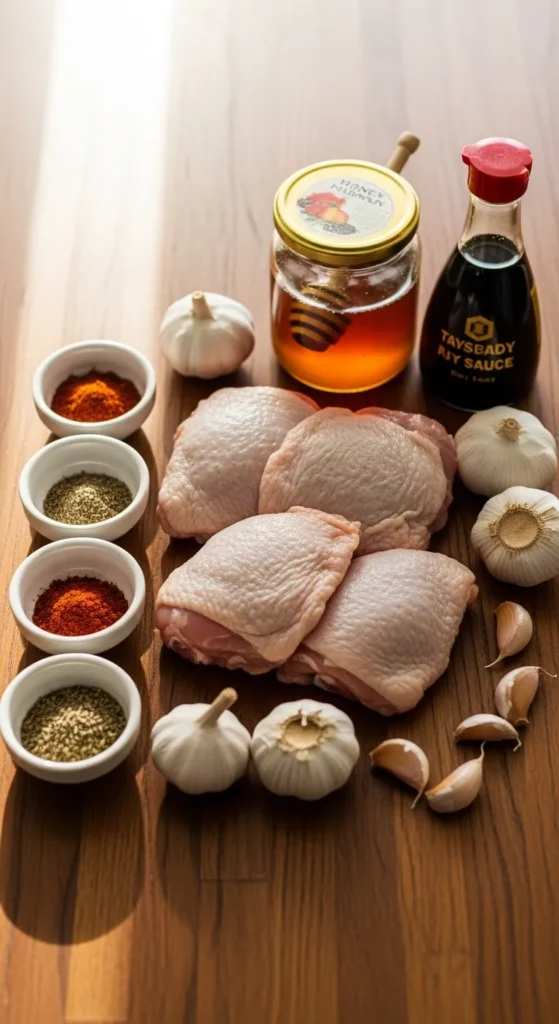
One of the best things about this recipe is its simplicity. You only need a handful of pantry staples to get amazing results.
- 6–8 bone-in, skin-on chicken thighs
- 2 tablespoons olive oil
- 1 teaspoon salt
- 1 teaspoon black pepper
- 1 teaspoon paprika
- 1 teaspoon garlic powder
- 1 teaspoon onion powder
- Optional: dried thyme or rosemary for extra flavor
Step 1: Prep the Chicken for Maximum Crispiness
Start by patting the chicken thighs completely dry using paper towels. This step is crucial—moisture is the enemy of crispy skin.
Once dry, place them in a large bowl and drizzle with olive oil. Massage the oil into the skin so every piece is evenly coated. Then sprinkle all your spices over the chicken and rub them in thoroughly.
Let the chicken sit for 10–15 minutes if you have time. This helps the seasoning absorb better.
Step 2: Preheat and Prepare Your Baking Tray
Preheat your oven to 425°F (220°C). High heat is key for crispy skin.
Line a baking tray with foil or parchment paper for easier cleanup. Place a wire rack on top if you have one—this allows heat to circulate evenly around the chicken and helps the skin crisp up beautifully.
Step 3: Bake Until Golden and Crispy
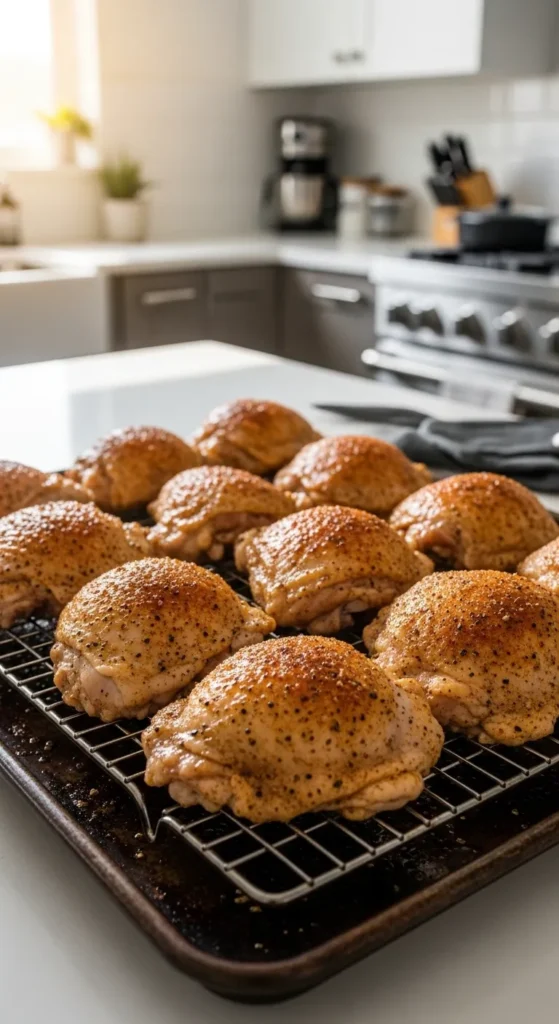
Place the chicken thighs skin-side up on the rack or tray. Make sure they are not touching each other so they cook evenly.
Bake for 35–45 minutes, depending on size. You’ll know they’re ready when:
- The skin is deep golden and crispy
- The internal temperature reaches 165°F (75°C)
- The juices run clear when pierced
For extra crispiness, switch your oven to broil for the last 2–3 minutes—but watch closely so they don’t burn.
Step 4: Rest Before Serving (Don’t Skip This!)
Once out of the oven, let the chicken rest for about 5–10 minutes. This helps the juices redistribute inside the meat, keeping every bite moist and flavorful.
If you cut into it too soon, all that delicious juice will run out—so patience pays off here.
Flavor Variations You Can Try
Once you master the basic method, you can easily switch things up with different flavors:
- Garlic Butter: Add melted butter + minced garlic after baking
- BBQ Style: Brush with BBQ sauce in the last 10 minutes
- Lemon Herb: Add lemon zest, thyme, and parsley
- Spicy Kick: Add chili powder or cayenne pepper
- Honey Soy: Mix honey, soy sauce, and garlic for a glaze

Pro Tips for Perfect Results Every Time
If you want consistently amazing chicken thighs, keep these tips in mind:
- Always start with dry skin for crispiness
- Use high heat (425°F is ideal)
- Don’t overcrowd the pan
- A wire rack improves air circulation
- Let the chicken rest before serving
Small details make a big difference when it comes to oven-roasted chicken.
Serving Ideas
These chicken thighs are incredibly versatile. You can serve them with:
- Roasted vegetables
- Mashed potatoes
- Rice or quinoa
- Fresh garden salad
- Garlic bread or dinner rolls
They also store well, making them perfect for meal prep lunches throughout the week.
Final Thoughts
Learning how to cook chicken thighs in the oven is one of those kitchen skills that pays off again and again. It’s simple, affordable, and endlessly customizable. Once you get that perfect balance of crispy skin and juicy meat, you’ll find yourself making it on repeat.
So go ahead—preheat that oven and give it a try. Your kitchen is about to smell amazing.
Save this recipe for later and enjoy every crispy, juicy bite!

Leave a Reply